Editor’s Note: The following article is offered for informational purposes only. The author’s opinions do not necessarily reflect those of The Armory Life. We recommend you seek out in-person professional training with a competent instructor. Whenever training, follow the common rules for firearms safety and use only unloaded firearms in a safe area.
Training for the possibility of a deadly force encounter should address the conditions that are most likely to occur out in a cruel and unforgiving world. Lighting conditions will probably not be optimum and, more often than not, action will unfold very quickly inside of conversational distance.
Perhaps luck is on your side that you spotted the threat and can move to a position of advantage. But a harsh reality is that any one of us can get caught up in a situation where we find ourselves far behind on the power curve and have to play catch up to deal with an aggressor.
A possibility that many people haven’t considered is the simple fact that they might be seriously injured before they can stop the threat. Just because you’re the “good guy” doesn’t mean you get to “go first.” Injuries to the hand, arm, or shoulder can prevent you from drawing your gun in the normal manner and play havoc with other tasks such as reloading.
And if you can get your pistol into action, how good are your solo-hand shooting skills?
No Matter What, Fight Back!
I will confess that I was probably a couple of years into my law enforcement career before I gave these issues little more than a cursory thought. Like many of my contemporaries, I got into the habit of carrying a back-up gun and placed it where I could draw it with either hand. But, that is about as far as my thoughts went on this topic. When I became an instructor, I began to question a great many things we were doing — or for that matter, not doing — in training, and our collective deficiencies in this area became readily apparent.
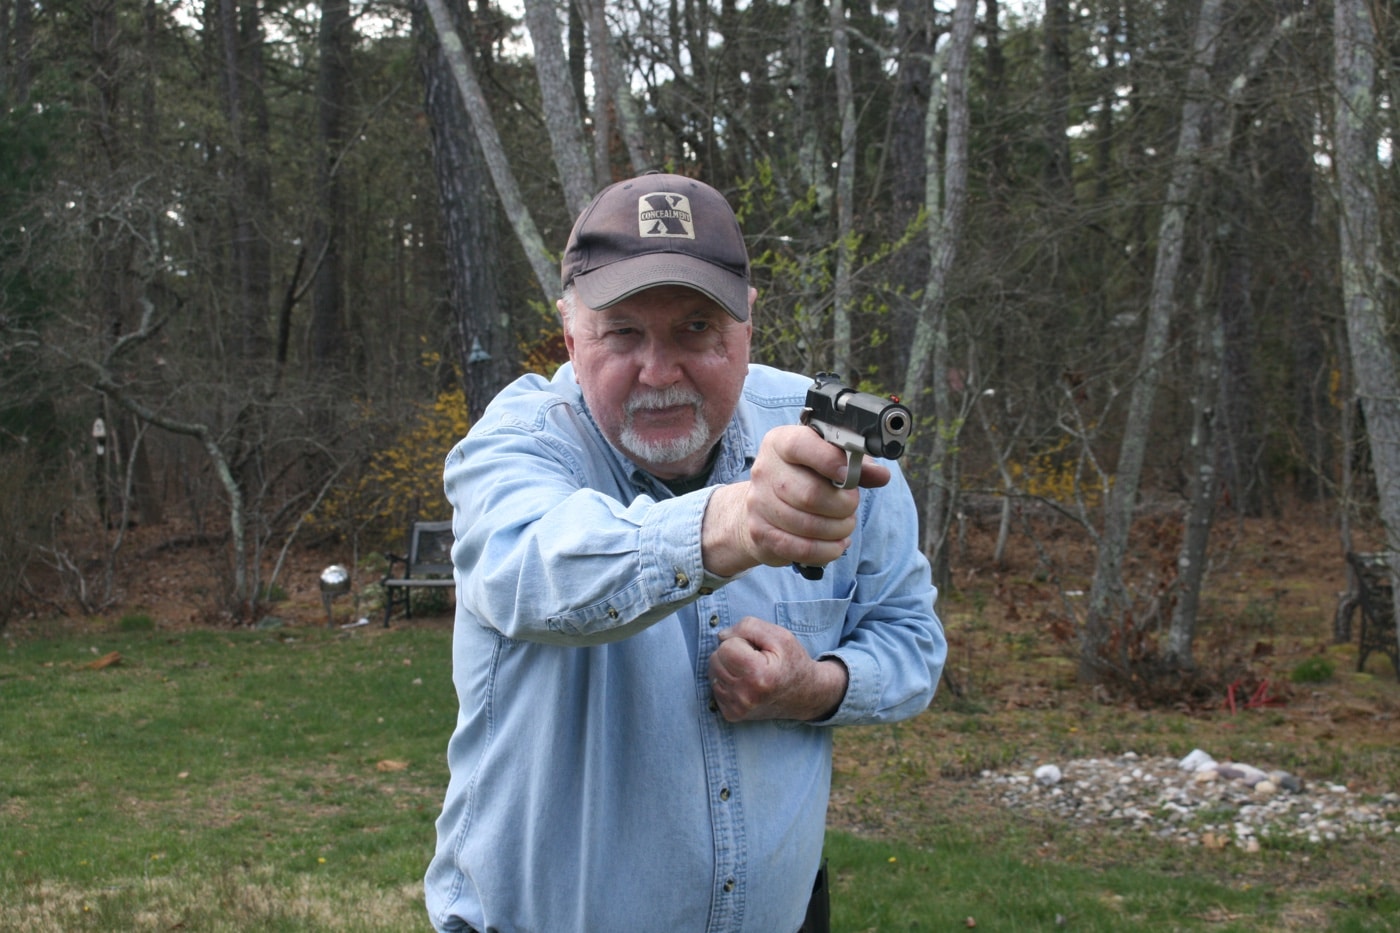
Sometime in the late 1980s, I stumbled across some information developed by the late Jim Cirillo of NYPD Stakeout Squad fame. Jim was one of the great outside-the-box thinkers on the topic and after retirement from the police department he went to work as an instructor for the Federal Law Enforcement Training Center (FLETC) in Glynco, Georgia. I shamelessly purloined a lot of his information on injured operators and have been presenting it regularly to our officers ever since.
The first bridge to cross when discussing fighting while injured is mindset. Just because you sustained a serious injury doesn’t mean you are going to die, and it certainly doesn’t mean you can’t fight back. If you have a functional hand and arm, you can still fight. Giving up and raising the white flag simply isn’t an option as you have now surrendered your fate to the aggressor.
[Be sure to read Why Is Mental Strength Important in Survival.]
Will he flee or try to finish the job? Personally, I would rather control my own destiny, and I would suggest you take the fight right back to him as fast and as hard as you can.
Solo Hand Shoot & Draw
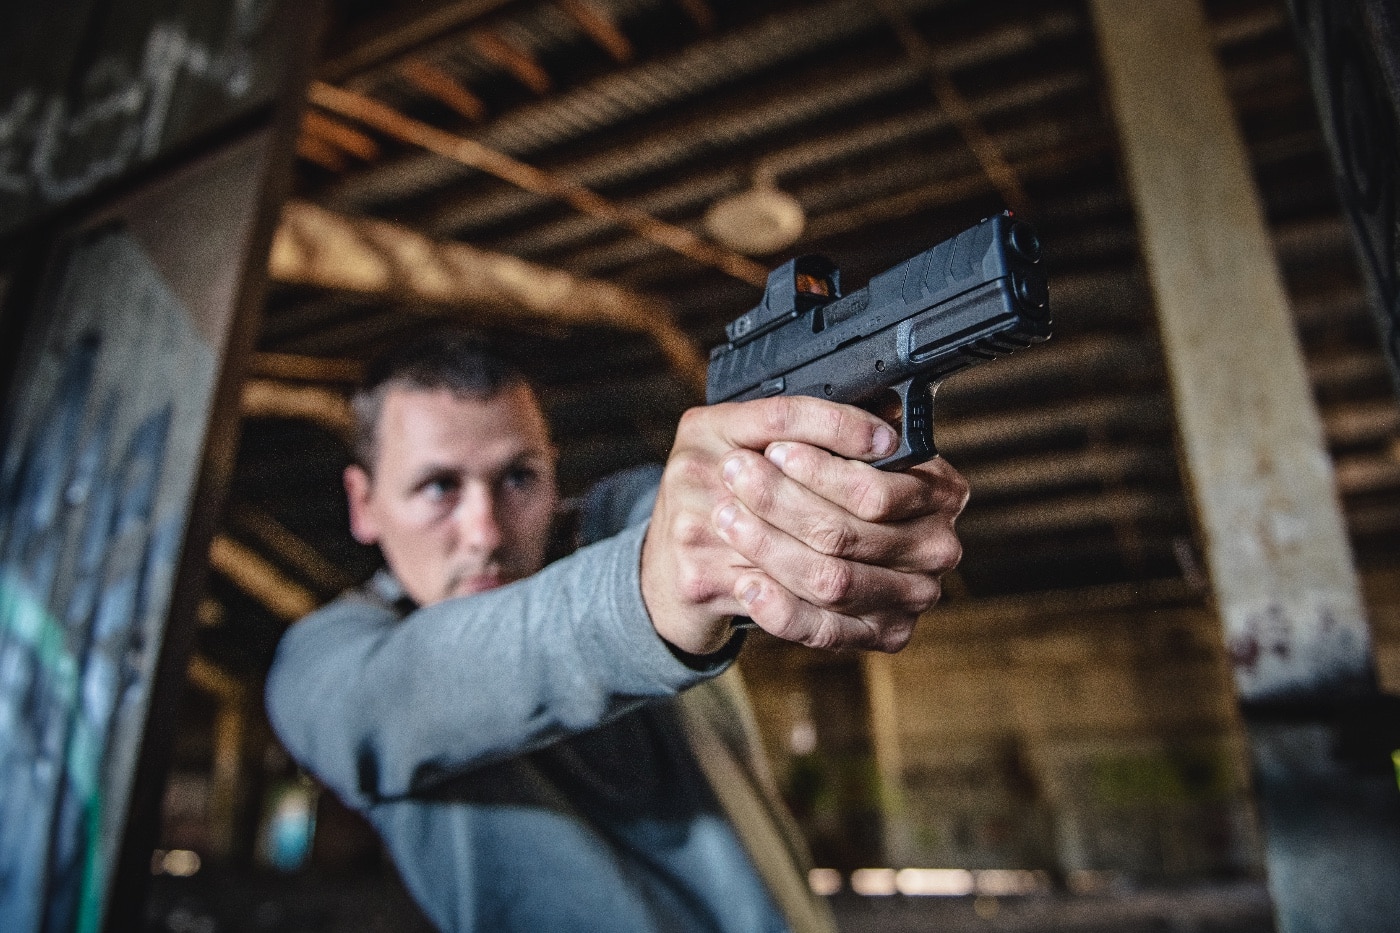
I would make a strong case that shooting with one hand is a vital skill we all should be practicing. In addition to fighting through an injury, one-hand shooting has applications when holding a flashlight or cellphone in the support hand, opening a door, or pushing someone out of harm’s way. Don’t neglect shooting with the support hand.
In the past, old-school coppers shot with support hand at 25 and 50 yards during firearms qualification to simulate the use of cover and expose as little of their bodies as possible. The real-world experience tells a very different story in that most people will only fire from their support hand if their strong hand is injured.
We all like to stroke our egos and practice what we are good at, but in reality we should be working on things that we are not so good at — which includes shooting with our non-dominant hand. I’m not suggesting you make a day of it, but a few shots every now and again at typical combat distance should suffice.
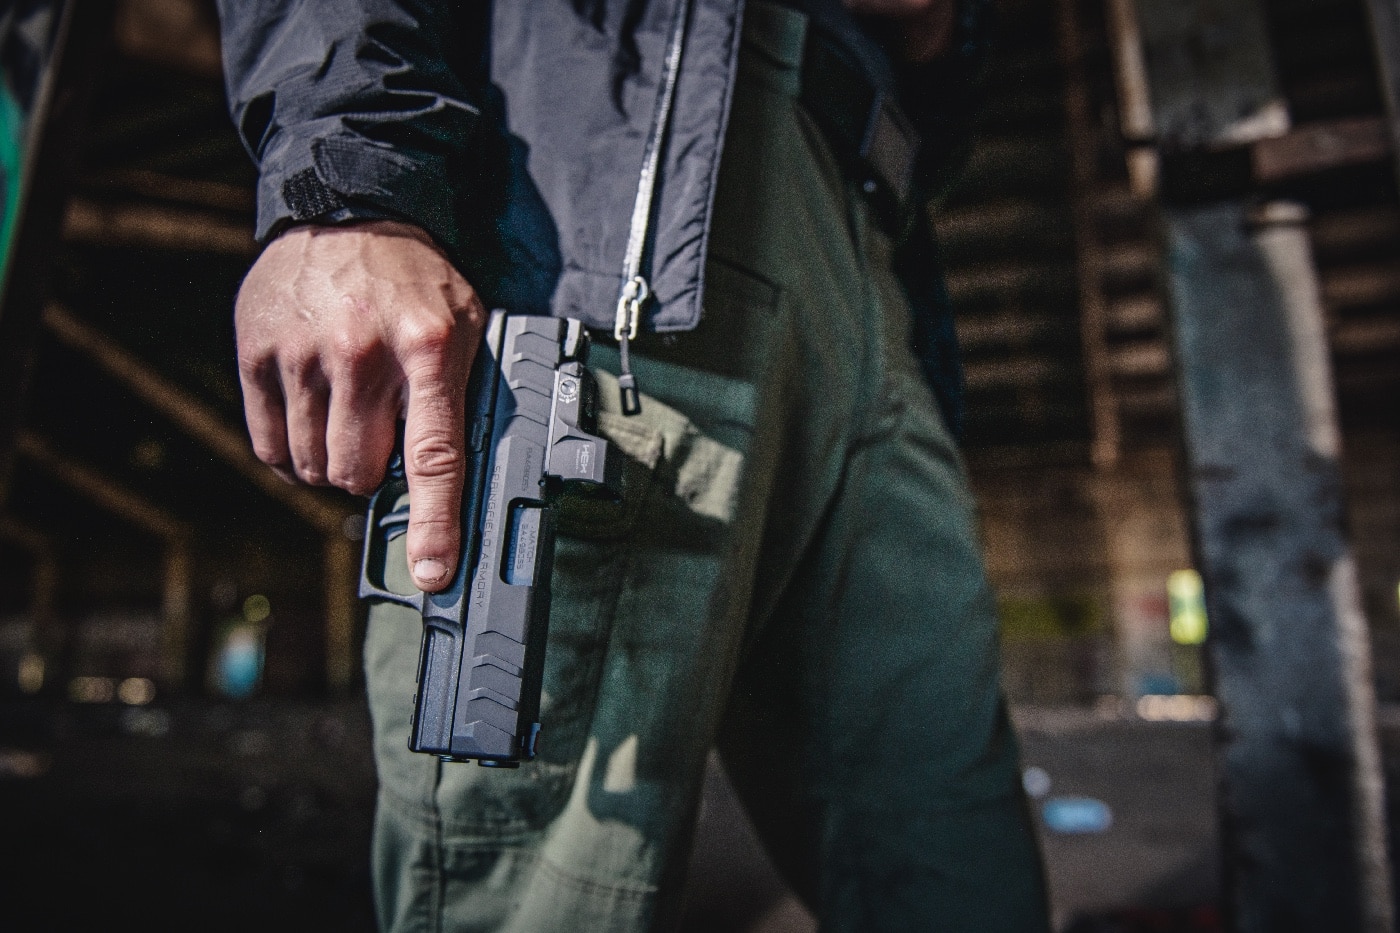
Drawing with the strong-hand-only presents no problem, but reaching across the body to draw with the support hand can be a challenge. So why is this important? Something like 88% of the population is right-hand dominant. A common error among the untrained is the five-finger grip and squeeze, which drops shots low and left on a target. Should you be facing an untrained, right-hand dominant assailant, there is a good chance that the rounds he fires may very well impact your right arm or hand.
[Don’t miss Massad Ayoob’s article on weak arm drawing.]
This phenomenon was noted over 60 years ago by Chic Gaylord and more recently by LAPD who noted a disproportionate number of these types of injuries suffered by officers in confrontations with armed felons. If you can’t fight with your strong-side hand or arm, you have got to make the other arm work.
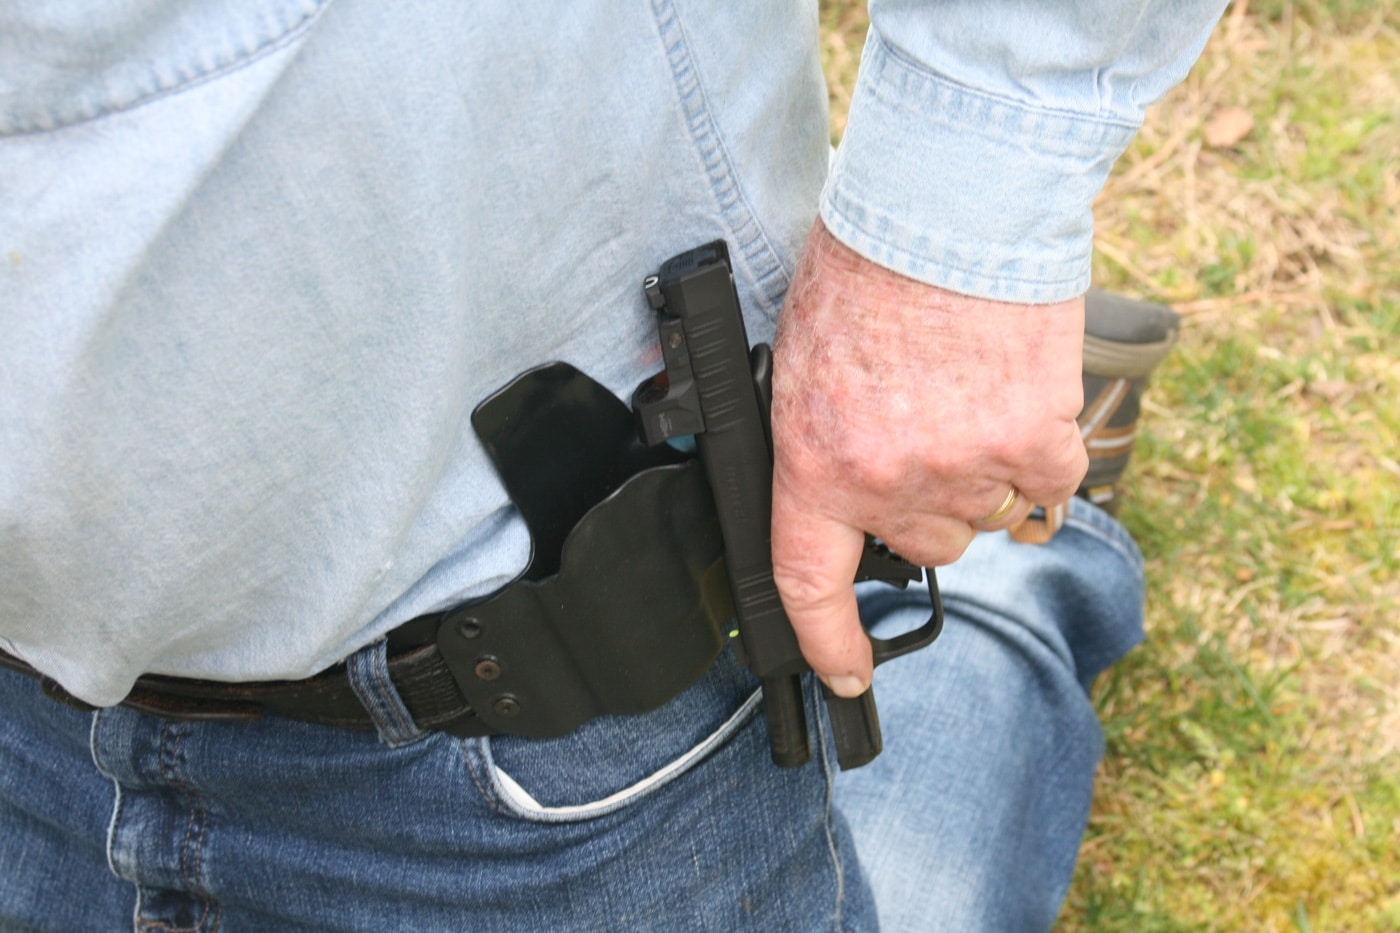
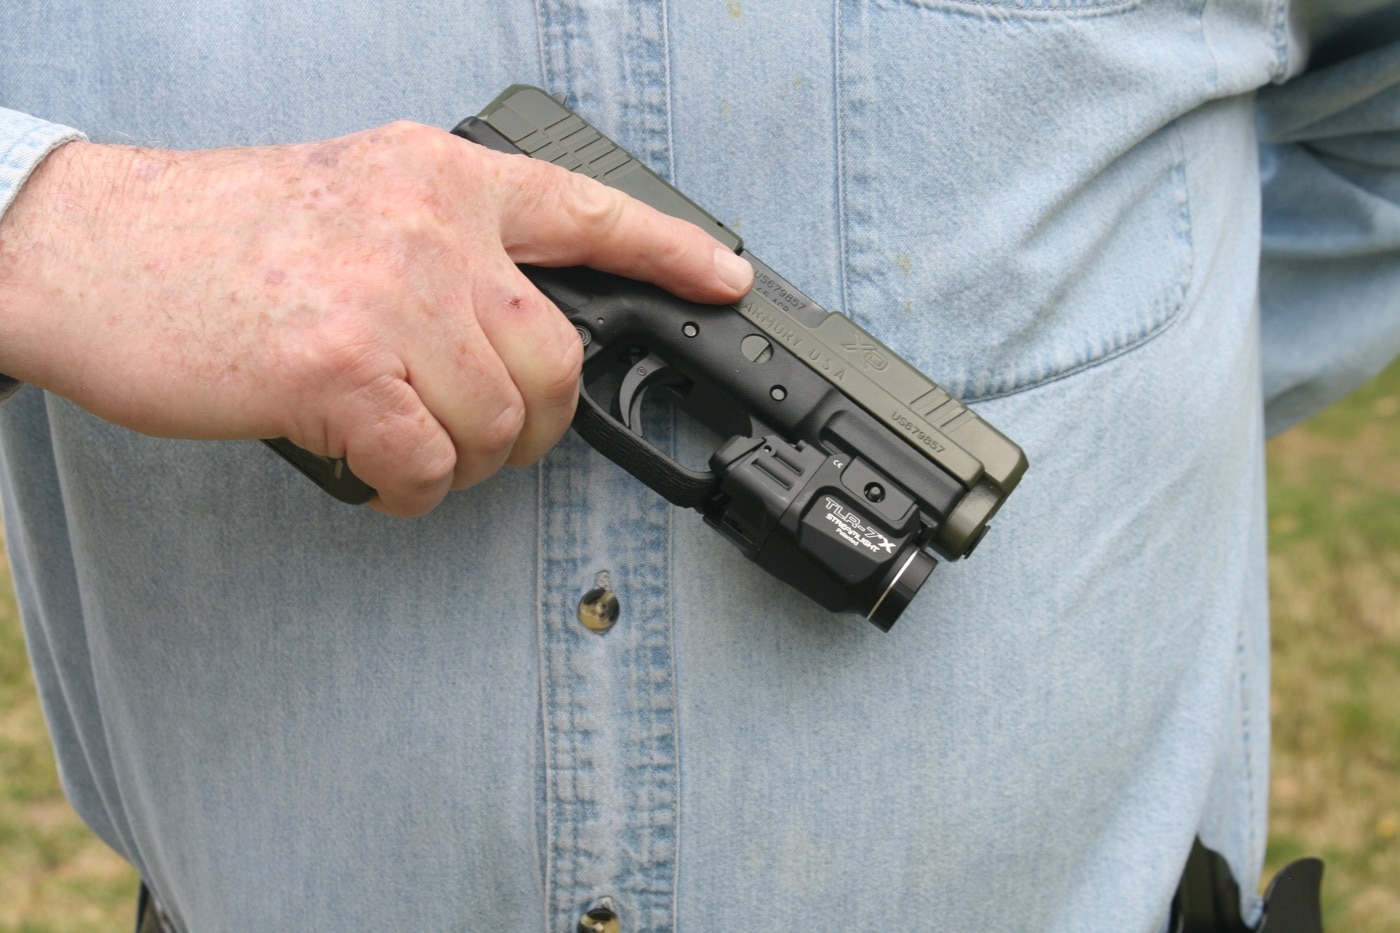
Some styles of holster such as appendix-inside-the waistband (AIWB) holsters lend themselves to a draw with either hand. A pistol contained in a traditional inside-the-waistband (IWB) holster behind the hip can often be drawn by reaching around the back with the support hand.
Depending on where they are worn, outside-the-waistband (OWB) holsters can be problematic. When I was younger and trimmer, I could draw with the support hand by reaching around the front of my body or around the back. Not so much anymore! I tend to wear a concealed pistol just forward of the hip, so a support hand draw is not especially difficult for me. Except for teaching I don’t wear a duty holster, but I can assure you drawing from a Level III security rig isn’t easy. But, it can be done.
When reaching across the body, your hand comes in contact with the gun with the thumb positioned down at the bottom of the grip frame, opposite of a normal draw stroke. At this point in time, we have a few different options in how we get into action. But no matter what road we choose, we first need to release any retention device such as a thumb break. One option is to lift the gun ever so slightly and rotate it so the grip is facing forward, and assume a shooting grip with the support hand. The pistol can now be lifted free and clear and brought to bear on the threat.
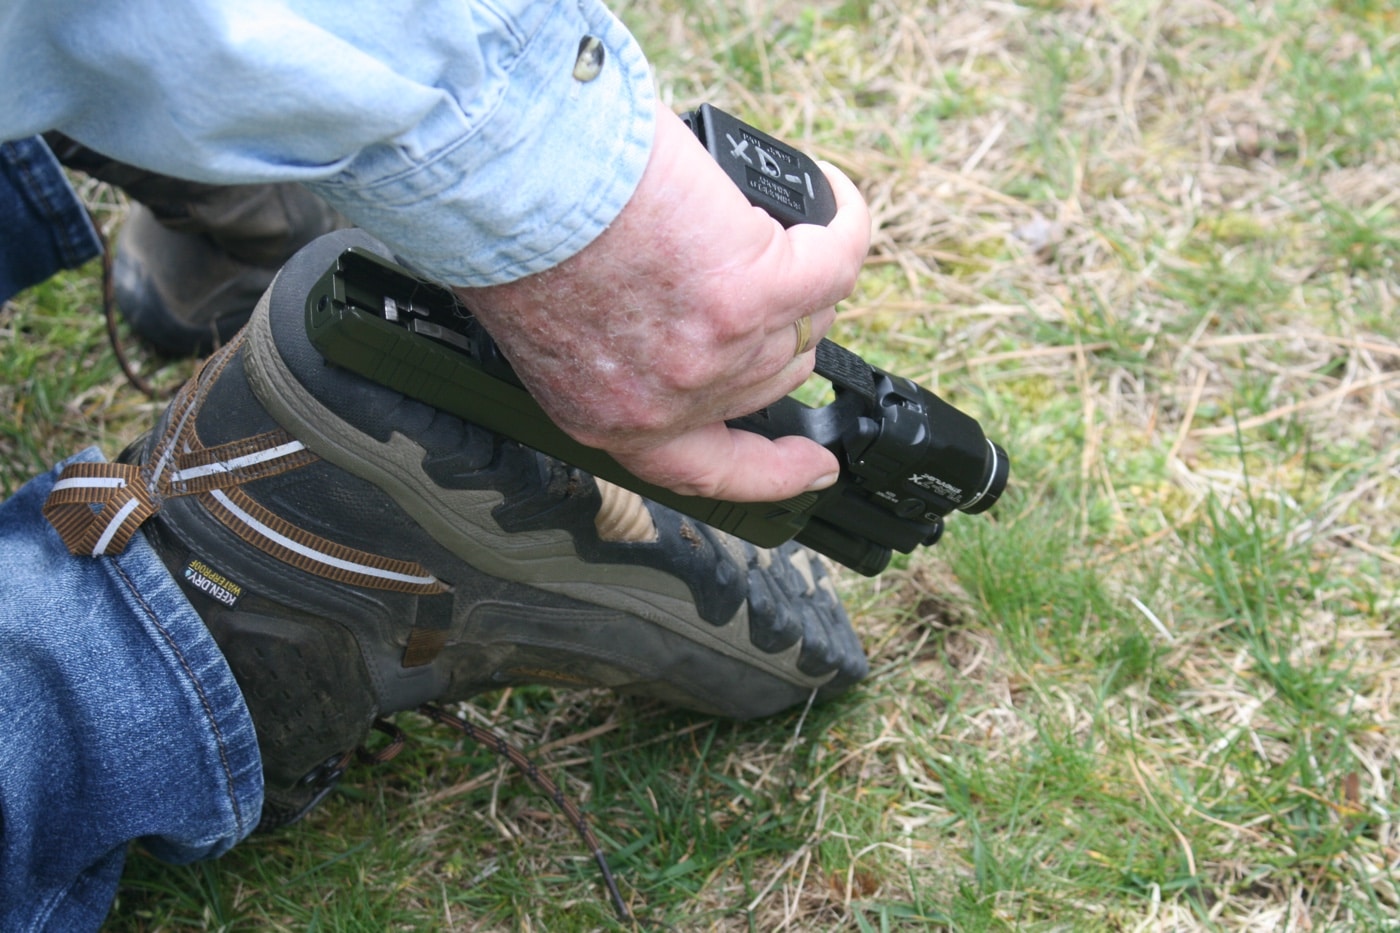
Another technique is to lift to the gun completely clear with the “upside down grip” and carefully roll it across the chest to achieve a proper shooting grip. I have heard this referred to as a “Roman Salute,” and if you can walk and chew gum you can probably pull it off. Another possibility is to draw the improperly gripped gun, drop down to a kneeling position, and place it between your knees with the muzzle pointing down and away from your groin. Once the gun is stabilized, turn your hand around and take a normal shooting grip. The downside is that your mobility is restricted which can be a huge liability depending on the situation.
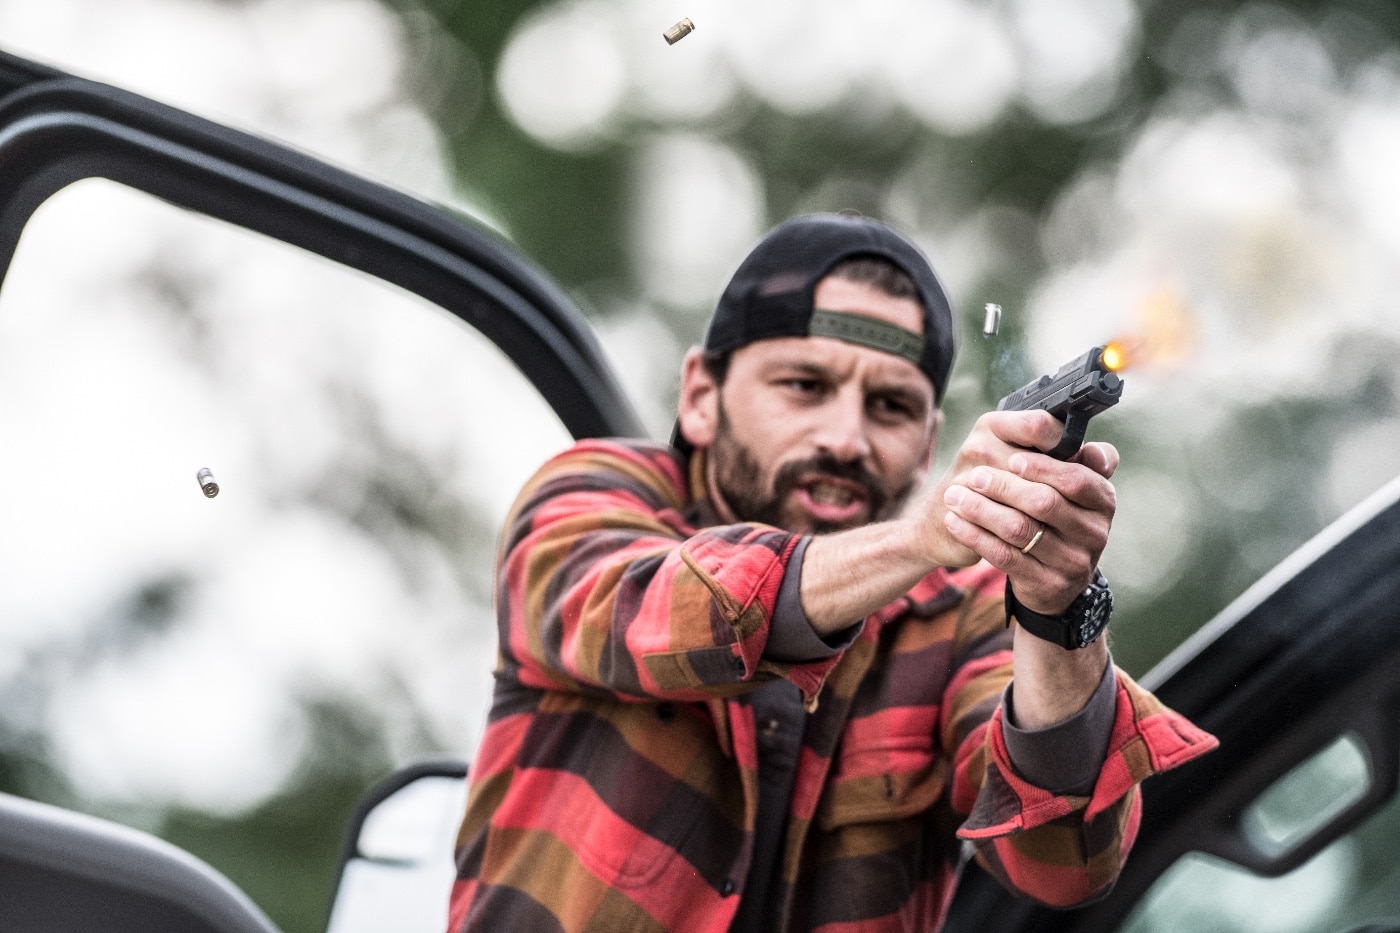
Needless to say, training in this area will take you far out of your comfort zone. Muzzles drifting in an unsafe direction and fingers coming in contact at an inopportune time are recipes for disaster. Practice should always be with an empty gun.
Reloading
For the armed citizen, most incidents are resolved with just a few rounds fired. Although the absolute need to reload is rare, there is no guarantee that you will not be the anomaly. With that said, I always recommend carrying at least one reload no matter the capacity of your handgun. And yes, you can top off a pistol after suffering an injury to the hand or arm.
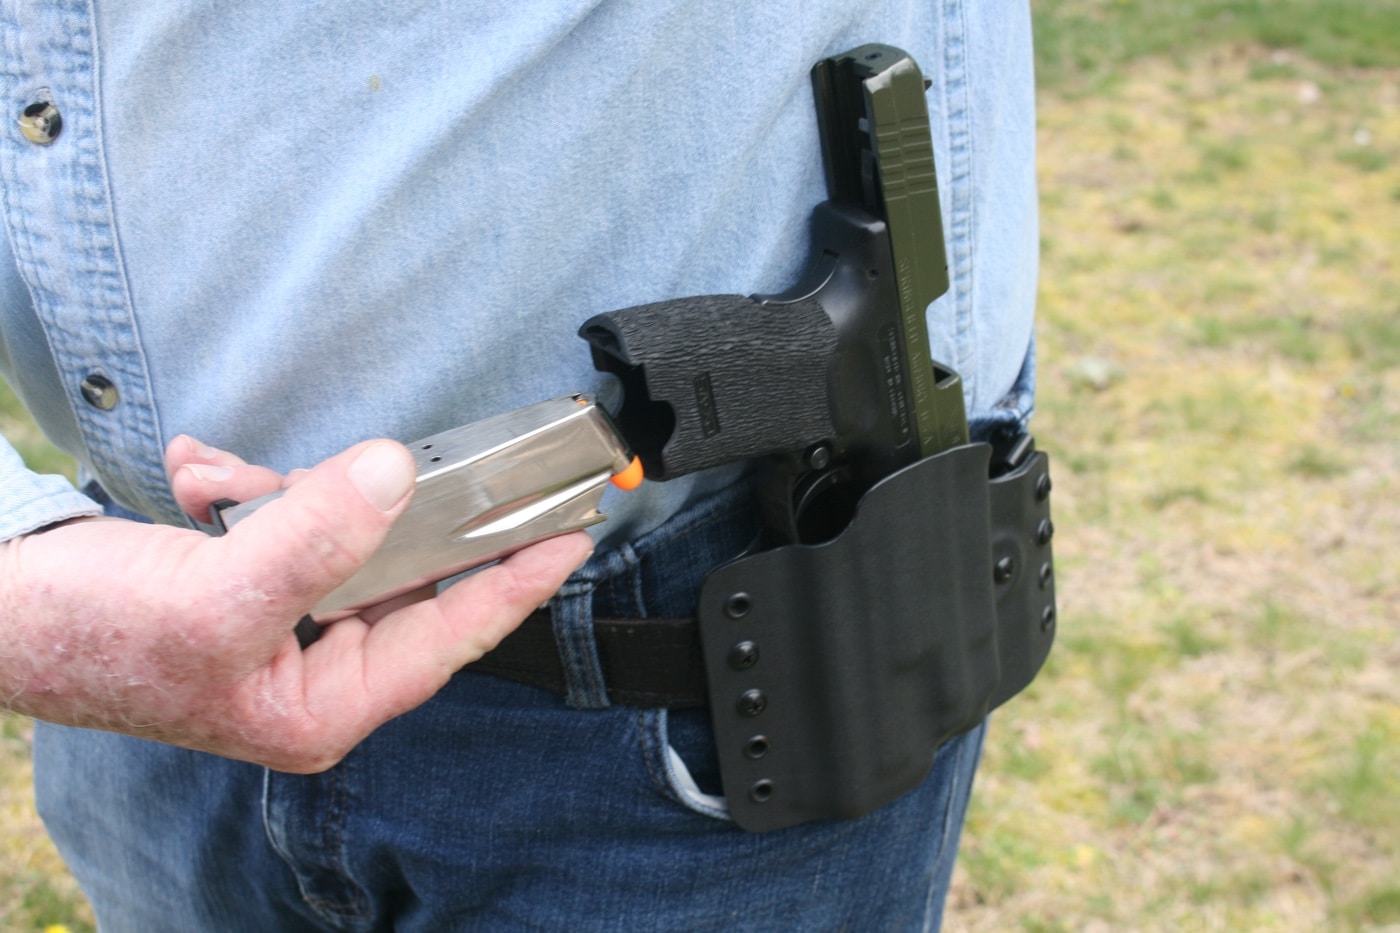
Assuming an empty gun, the first order of business is to drop the depleted magazine and return the pistol to the holster. Should the strong hand be injured, return the pistol backwards with the empty magazine well facing forward. Insert a magazine, lift the gun and send the slide forward to chamber a round. Some pistols have an ambidextrous slide release which makes this task relatively easy however, many classic designs such as the 1911 have a single-side slide release on the right side of the grip frame. No matter what hand is holding the pistol, you can send the slide home by simply hooking the rear sight or red dot optic on the belt and pushing down.
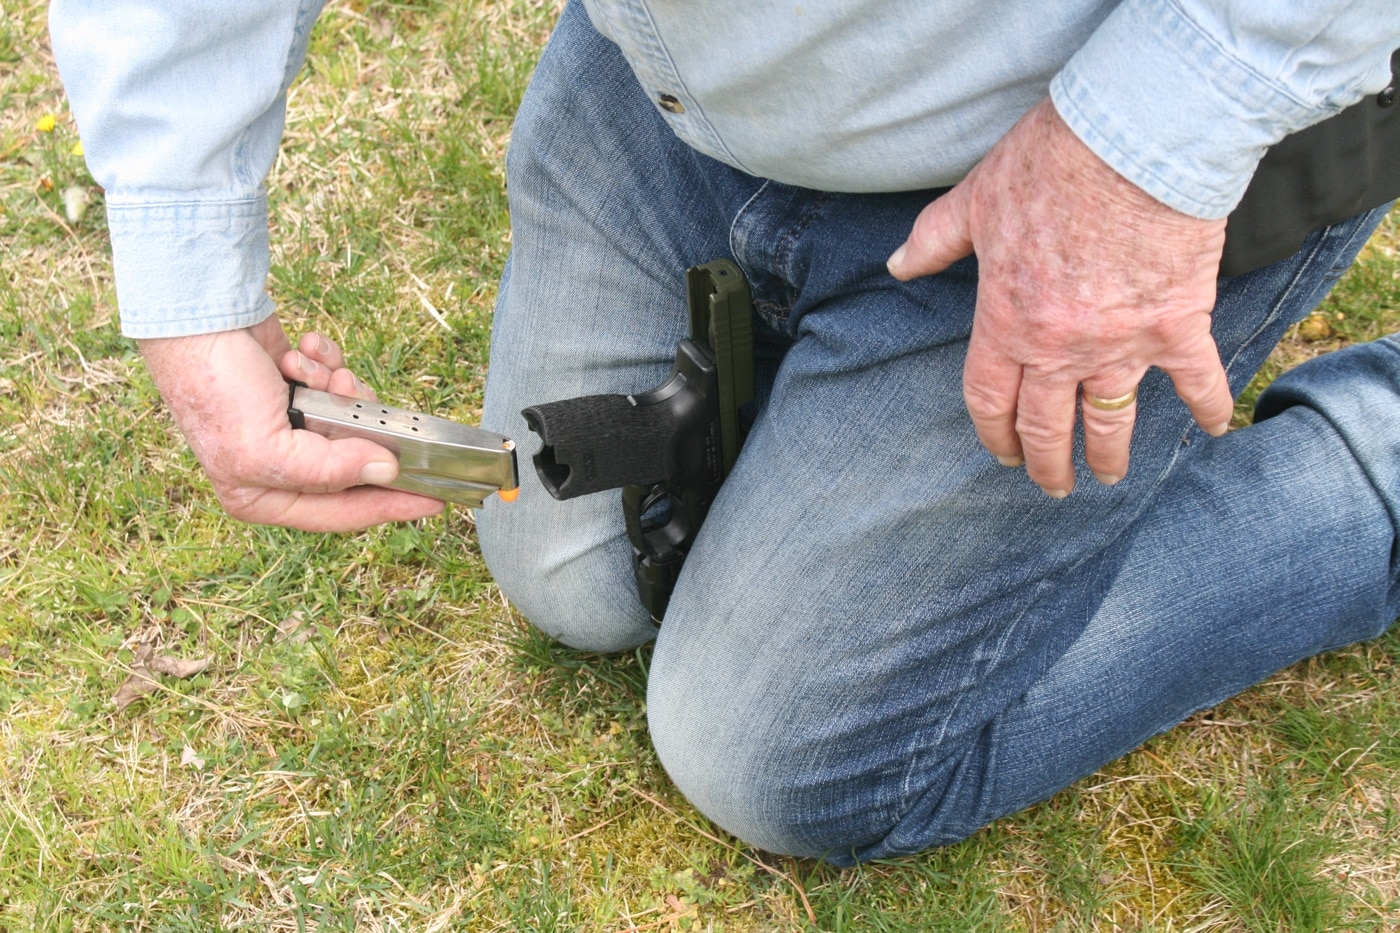
Solo-hand reloading using the strong side hand is more straightforward as the gun does not have to be placed backwards in the holster and you don’t have to reach across the body. Likewise, if you are replacing a partially depleted magazine, there is a round already in the chamber and there is no need to run the slide.
The one-hand reload as outlined above works great with a belt holster but may be a no-go with other styles such as a shoulder rig. Instead, kneel and place the inverted pistol sans magazine between your thighs. Insert the magazine, send the slide forward and you are back in business.
Stoppage Reduction
Modern pistols are extremely reliable machines but shooting an autopistol with one hand and a compromised grip increases the likelihood of a stoppage. However, if you understand the concept of clearing a simple stoppage and are familiar with the immediate action drill (Tap, Rack, Ready) you can get back in the game very quickly.
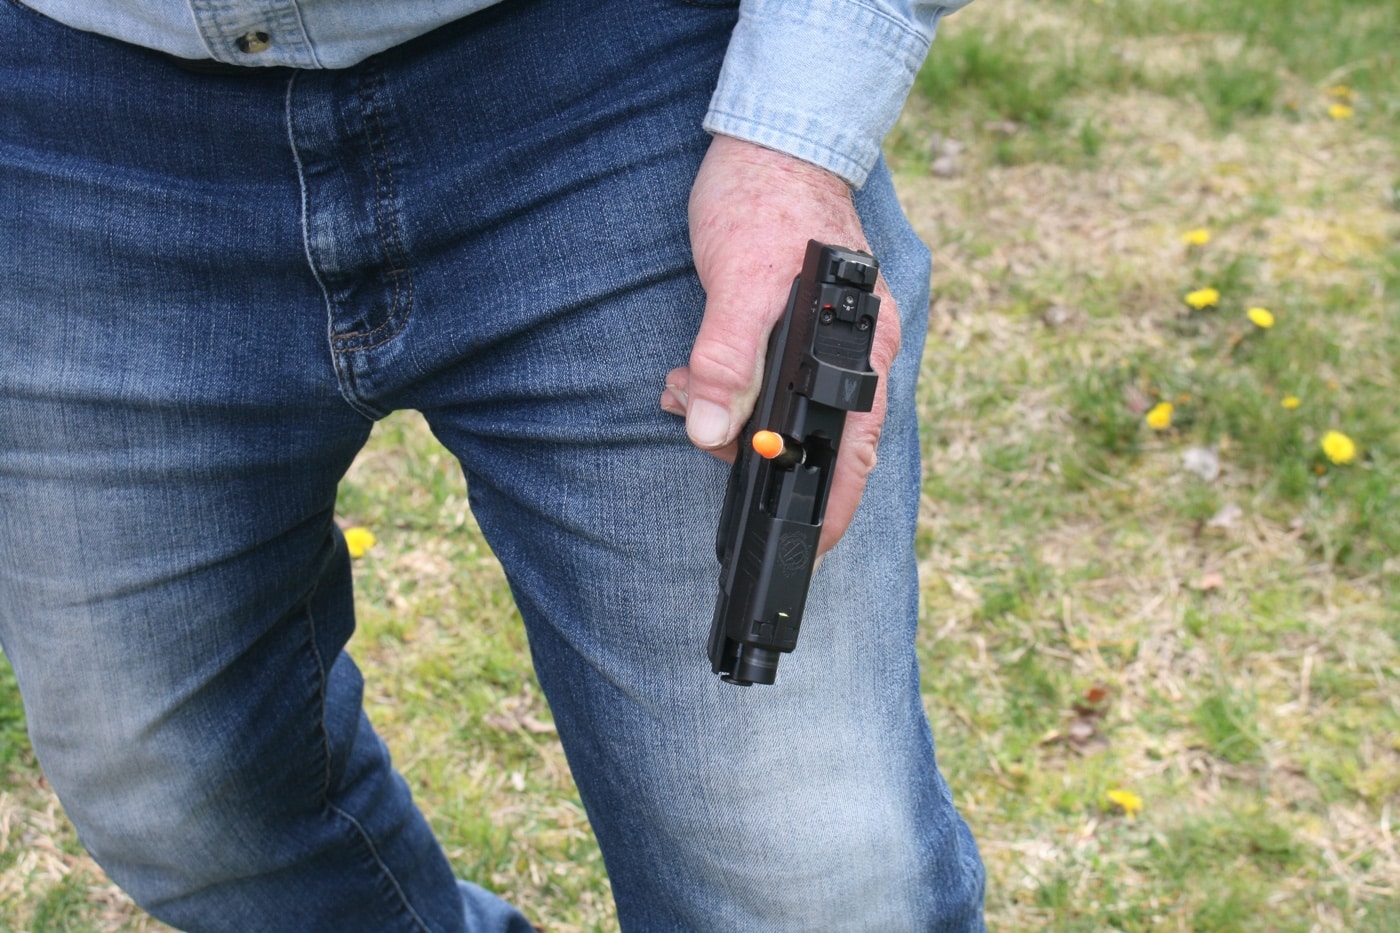
As soon as you experience a stoppage, smartly TAP the magazine floorplate on the thigh to ensure the magazine is fully seated. RACK the slide by hooking the rear sight on the belt, holster or even the heel of the boot if you find yourself in a kneeling position. It is important that the slide not come in contact with anything such as your jacket as it moves and chambers a round. If the threat is still out there, your pistol should be READY to fire.
The more complicated feedway or double feed can also be cleared one hand only, but it takes considerably more time. In addition to the steps outlined above, you have to strip the magazine out, run the slide multiple times, and reload your pistol.
Off-range practice with dummy rounds for both reloading and stoppage reduction can go a long way in keeping you safe. Even though you are practicing with inert dummy rounds, pay attention to the safety details, particularly muzzle direction, and keeping your finger outside the trigger guard.
Final Thoughts
Training should address what happens in real life and there is no getting around the fact that you could be injured while attempting to defend yourself. Getting familiar with solo-hand skills outlined above would be time well spent. The bottom line is that we don’t improvise very well when subjected to extreme stress, and knowing you have the ability to run that pistol even if injured should increase your confidence. A few minutes of off-range practice from time to time can better prepare for that worst-case scenario and give you the means to prevail.
Editor’s Note: Please be sure to check out The Armory Life Forum, where you can comment about our daily articles, as well as just talk guns and gear. Click the “Go To Forum Thread” link below to jump in and discuss this article and much more!
Join the Discussion
Read the full article here


