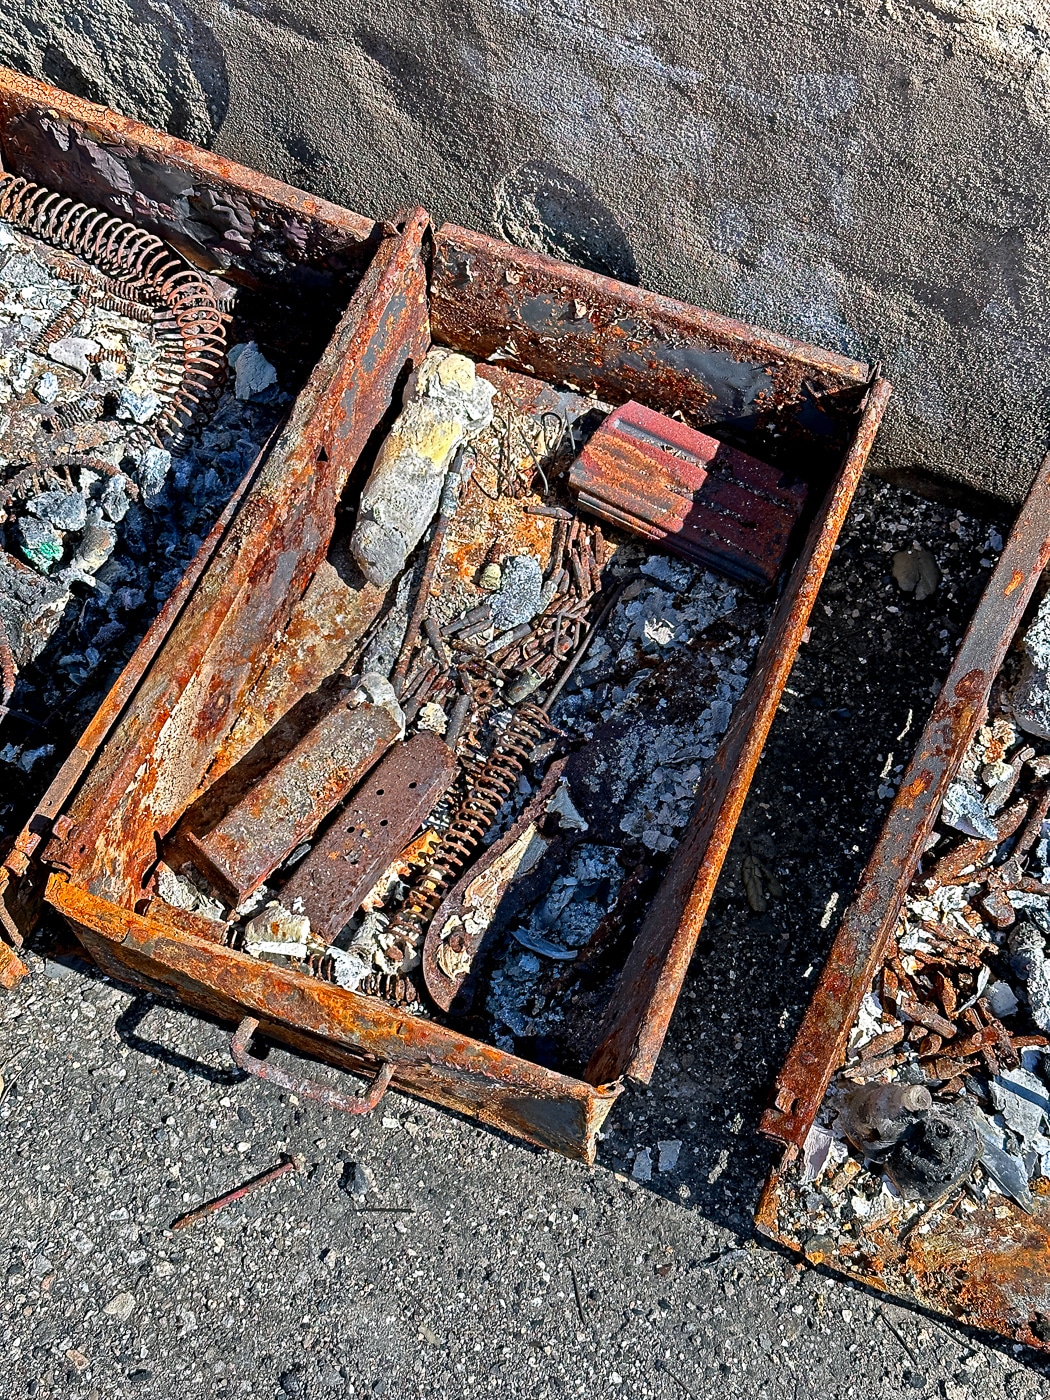
Even as reddish flames were visible from my bathroom window, it still seemed absurd to think that my house would burn down. There’s something particularly ghoulish about a house fire that makes it almost too large to fully process: it’s the immediate elimination of so many memories, the loss of so many physical artifacts that come to define our identity and those of our family members, the erasure of location where we feel safest and most at ease, and an invalidation of decades of hard work to provide for ourselves and others. It’s something so horrible it almost seems like it could happen only to the most unlucky of us.
On the morning of January 8th, I would awake to learn that my home, and everything I owned that did not get packed into a few go bags, would be totally consumed by flames. As readers of this website may surmise, that included several new and vintage firearms, along with the tools, cleaning supplies, and various pieces of equipment dedicated to keeping them fed and running.
Surprisingly, there have been many things to be thankful for in the aftermath of this tragedy. That list is too numerous to detail here, but for the purposes of this article, I’ll reveal one in particular: I did have an insurance policy that covered my firearms, knives, and accessories. As a result, I’m equipped to share some real information with you guys from someone who has navigated the process and learned some lessons along the way.
Step 1: Have a Policy
I’d written previously for The Armory Life that while investing in firearms in the strictest sense of the word might be a questionable proposition, I do strongly believe that guns are an excellent store of value. As that value increases, it begins to make very good sense to protect those assets.
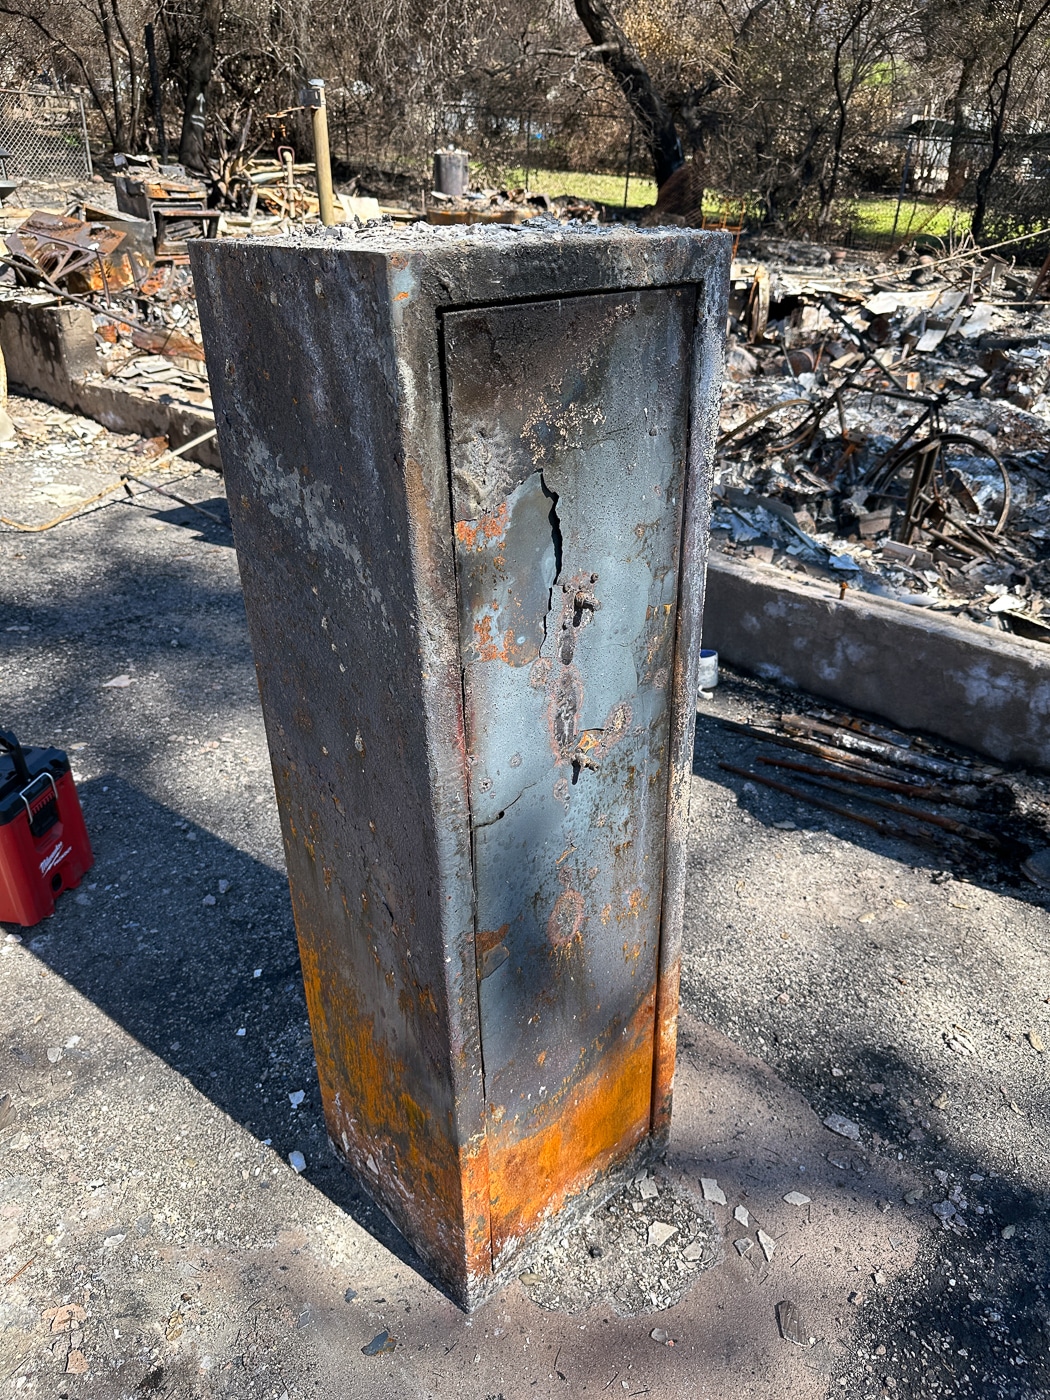
Even if you have a homeowner’s or renter’s insurance policy, there may be a ceiling on the maximum payout of the loss of your firearms (or any esoteric rare collection, like comic books or baseball cards). If you think you’re covered under an existing policy, now is an excellent time to read the fine print carefully to understand what would be covered and what isn’t. You may want a secondary policy that purely covers your firearms and gun accessories.
When in doubt — either as pertains to your current policy or one you’re considering — ask questions. Sending an email to the company or agent is a great way to not only get an answer, but get an answer on record. Are your books, manuals, and holsters covered? Are optics? Is there additional documentation or appraisal required for especially high-value items?
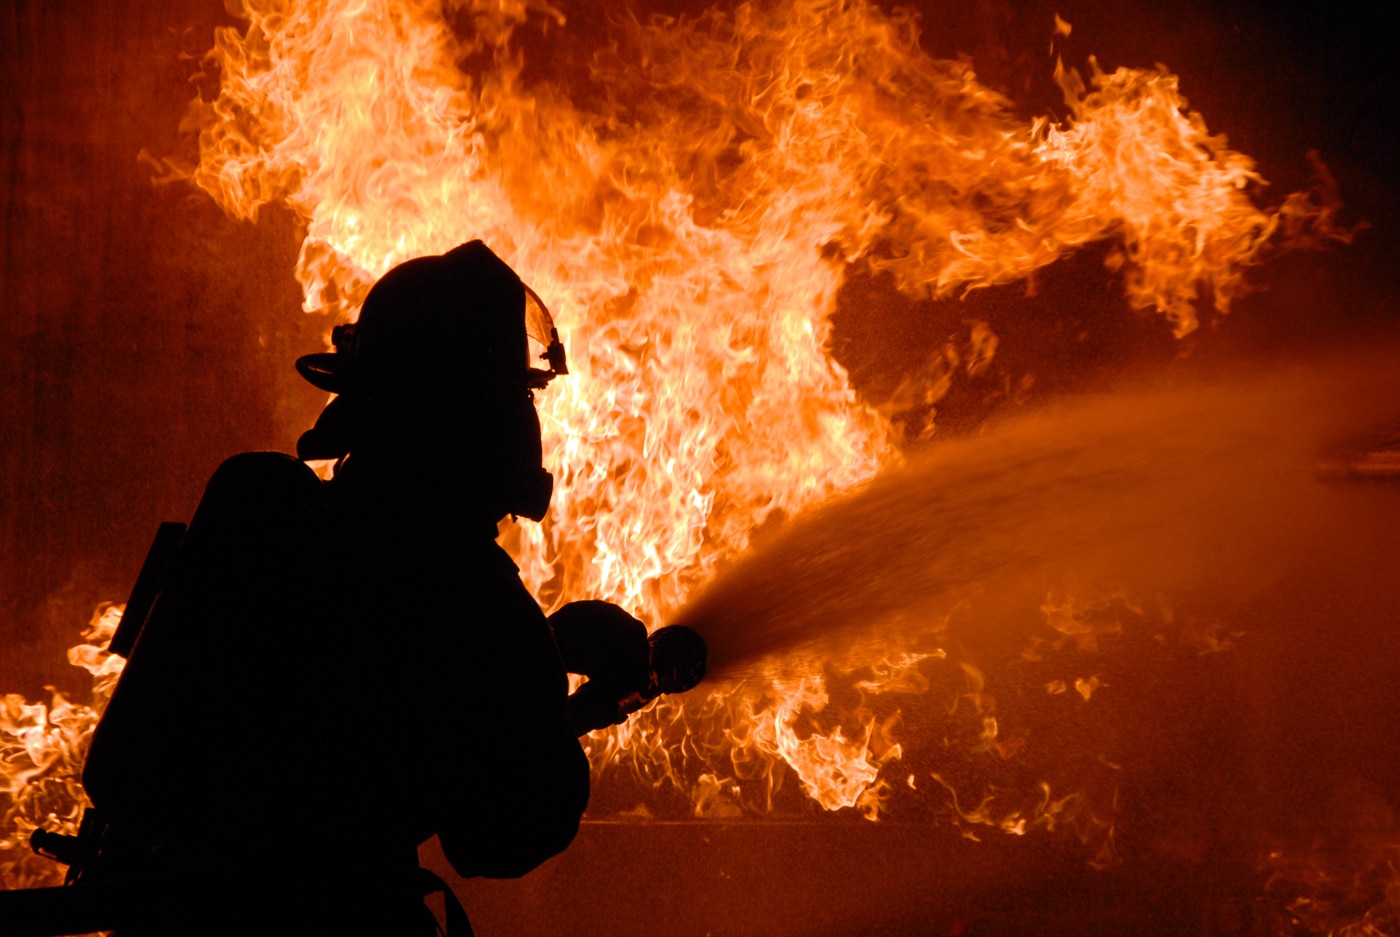
Additionally, set (or adjust) your policy limits a little higher than you think you need. I guarantee you that once you really start adding up how much it would cost to replace absolutely everything you own, you’re going to be fairly alarmed by the number. It’s tempting to set your policy limits at a point where premiums are cheaper, but — and speaking from experience — nobody thinks they’re going to file a claim until they do. And on that day, you’ll definitely be kicking yourself if you’re under-insured.
Step 2: Document What You Own
When my appraiser asked if I had photographs of my collection, I could hardly stop myself from responding with glee. “I would be shocked if you’ve ever received a higher quality collection of photos from another policy holder,” I told her. Being a gunwriter these days means being a gun photographer to boot.
The reality is that every insurance provider has the right to put the full onus on you to prove that you actually owned what you’re claiming is destroyed.
I’m not saying that everyone needs to purchase a DSLR and learn the process of producing print-ready photographs, but I imagine mine did a very good job of communicating the relative condition of my guns and to prove my ownership of them.
At the very least, I recommend taking three pictures of every gun. A shot of the left and right side, in profile, along with a close-up shot of the serial number as legibly as you can take it. Having a bright light source helps, as does a tripod, so that any blur-inducing shake or wobble is minimized. Make sure your photos “read” to communicate the condition and clear stamping of the serial.
These tips helped me document all of my firearms, but in retrospect, I should have done more, and I should have had a better system.
To document all of your other “stuff,” the main risk is that we’re bound to forget quite a lot of what we own if we simply go off memory. Do you know how many bottles of cleaning solution you have, and of what type? Do you know how many rounds of ammo you have? Can you remember what reloading or disassembly manuals were on the shelf?
Here, opening drawers and getting out the cell phone is a great way to go. Take a video, and pan very slowly over what you own, moving objects aside so that every thing being filmed is visible — including the stuff at the bottom of buckets, or at the very back of cabinets. Use a flashlight to illuminate if you have to, but make sure the light source doesn’t blow out the details of labels and boxes.
Step 3: Consider Where Documentation Lives
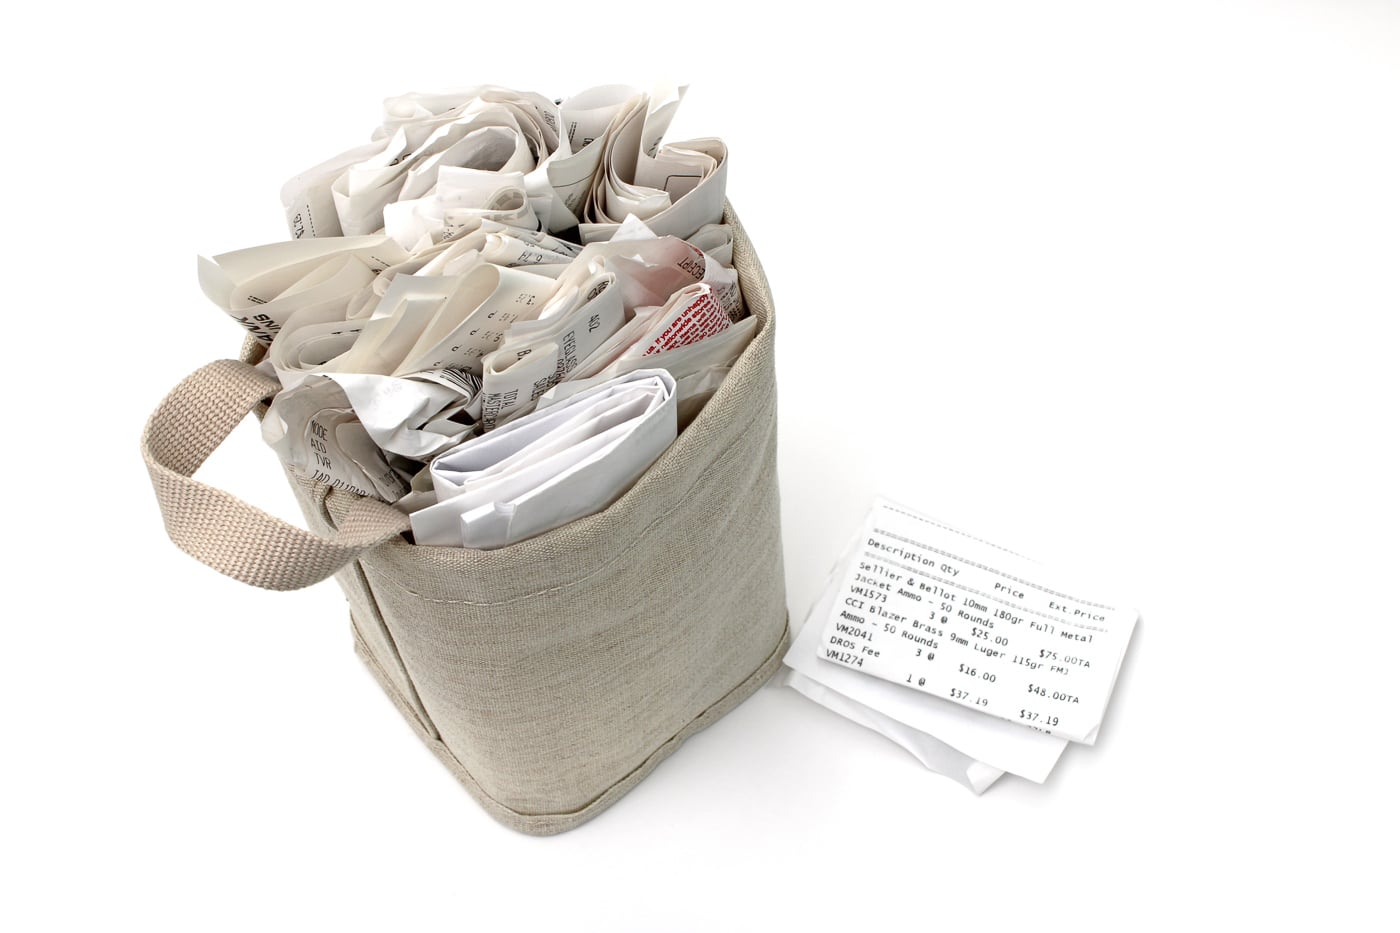
When the flames are nearly at your doorstep and you’re making decisions about what to save, you will most likely not grab the cardboard box filled with crumpled receipts. For that reason, anything you can digitize is your friend.
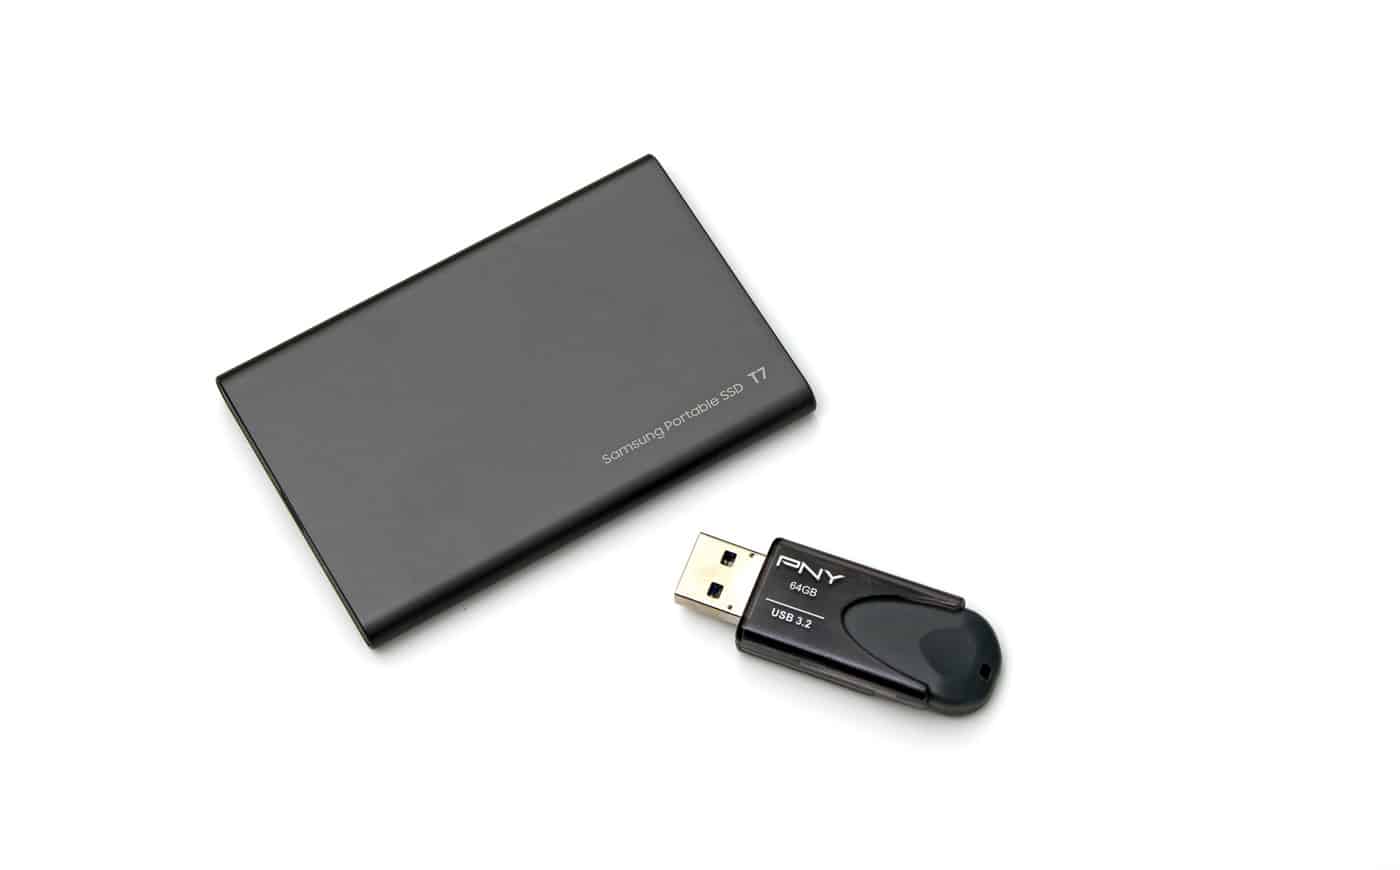
For reasons that should be obvious at this point, any physical device this information is stored on is subject to the same environmental factors as any other object that might reside in a burning, flooded, or otherwise destroyed house. A USB stick or hard drive with all of those photos and videos you took is useless if the data is unrecoverable. For that reason, online data storage and backup is a great option. Unless you have a mammoth collection and gobs of video, a lot of it can honestly be saved to a zip file and stored via your email or other storage service.
Here, I realize that some people are leery of storing sensitive information in “the cloud.” While I think the upsides outweigh the drawbacks — some of which can be mitigated by password protection or encryption — others will disagree. If you do decide to save your documentation solely on physical media, make sure it exists in duplicate and in separate physical sites: have a USB stick live with a trusted relative.
Also keep your data fresh. All digital media degrades over time: ancient floppy disks, CDs, hard drives and even SSD drives can fail over time. Consider periodically updating your storage media to mitigate this risk.
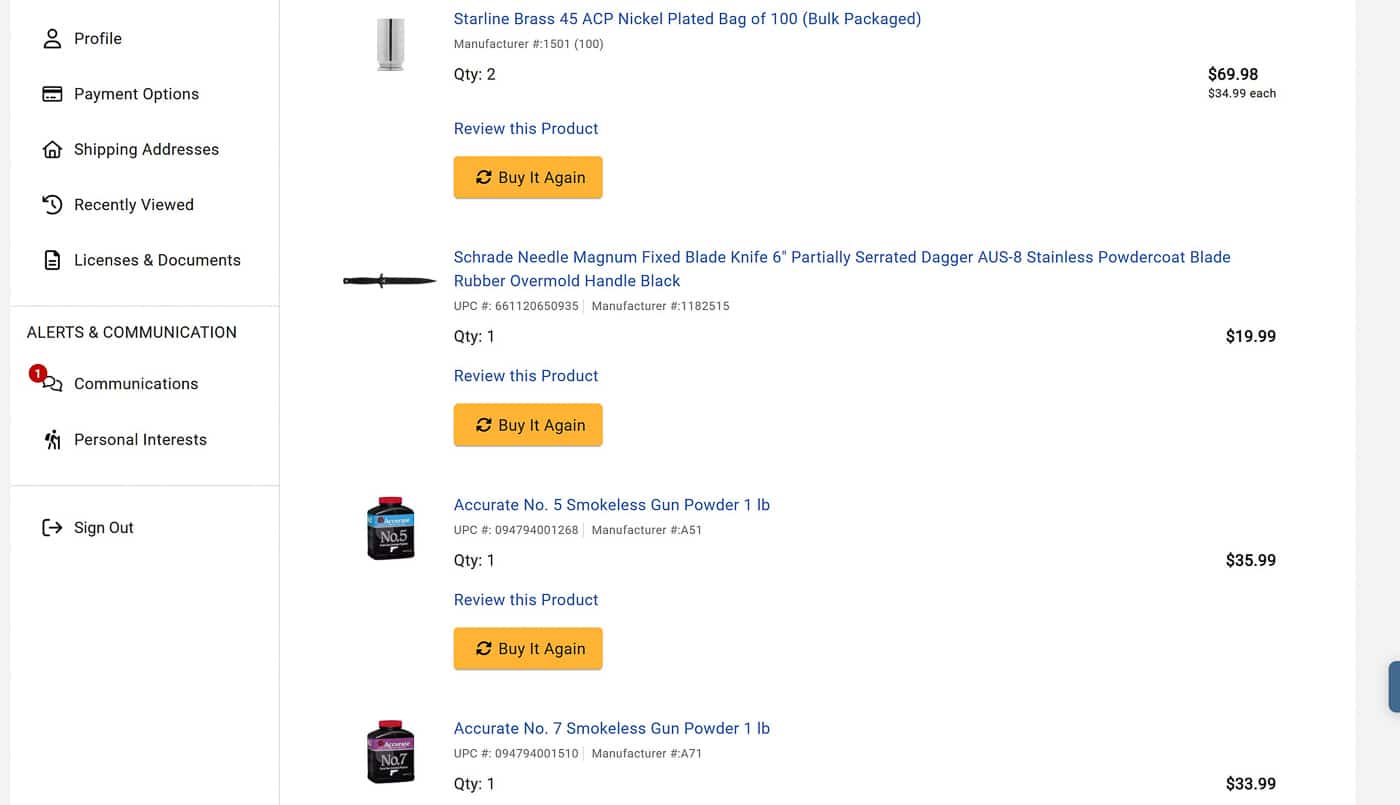
Speaking of digital receipts: I am very much in favor of supporting our local brick-and-mortar shops and retailers. However, I will say that in the same breath, I am very thankful that I also did a good amount of my “gun stuff” and “knife stuff” shopping on sites like Midway USA, Graf and Sons, Dillon Precision, Blade HQ, and Natchez, where it was easy to log into my account and view my purchase history going back several years.
However, even if you normally make a lot of cash purchases for ammo, accessories, and other gear, you may find it useful to utilize an app that stores receipts for you. This will also save the hassle of having to go through “the receipt drawer” to find one entry in particular.
Step 4: Making Spreadsheets
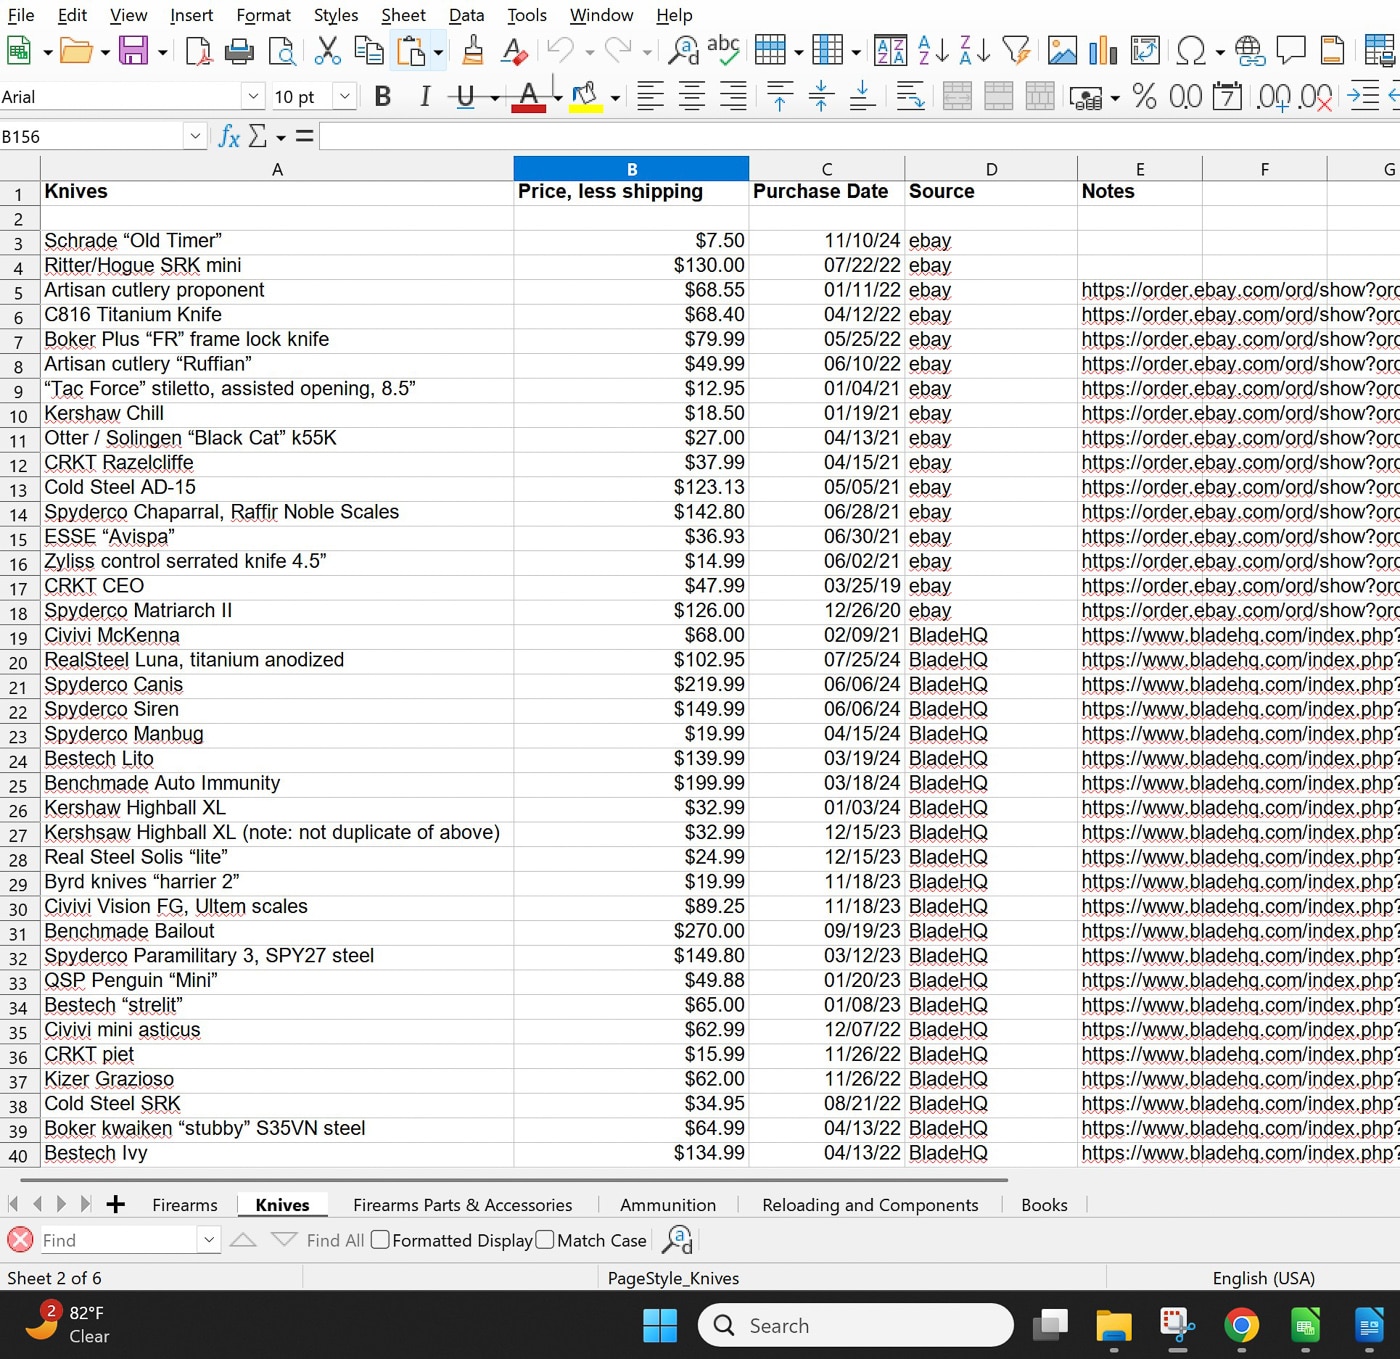
After my house burned down, I battled a spreadsheet for a good six days, off and on, documenting not only the destruction of my serialized firearms, but also the bulk of everything that counted as a “firearm accessory” or “edged weapon” as defined through my insurance policy.
At a minimum, your spreadsheet should contain the item lost, a description of the condition, whether a receipt (digital or print) is available, and a cost estimate. There are a lot of ways to go about this, but the best advice I can give is to stay organized and think systematically. Some may catalog the price paid at time of purchase; others may opt to provide a “replacement cost” along with a link to a retailer selling the item.
With respect to the above, multiple categories of goods and multiple pages are your friends. It’s likely easiest to start with firearms; then take an inventory of optics, then bulky categories of items like safes or reloading equipment. Then, you might get into accessories and spare parts like scope rings, recoil springs, gunsmithing tools, and the like.
Once again, this will require quite a bit of cross-referencing with old credit card statements, online shopping orders, and your own photographs and video. However, remember that the diligence you spend here is time well spent. Additionally, thinking like an insurance adjuster reduces the odds that you two will be on completely different wavelengths, which could delay or reduce the amount of a payout. The clearer you can make things for them, the happier you’ll be with the resolution process.
In Closing
In cases like these, hindsight is 20/20: I should have had a higher limit to my policy, and I should have spent more time documenting what I owned. Still, I can confidently say I wasn’t caught completely flat-footed, and what care I did take in my recordkeeping and photography (deliberately or accidentally) proved to be tremendously beneficial.
Naturally, all of my suggestions above won’t do anything for the heartache of losing your place of comfort and solitude, your numerous heirlooms and memories, and the tethers to a community you may love. They will, however, take a little of the sting out of the administrative headaches that follow a total loss. While I don’t have the ability to rewind the clock and do things over, I certainly do hope some of the above provides at least one of our readers with a spark and an action plan.
Editor’s Note: Be sure to check out The Armory Life Forum, where you can comment about our daily articles, as well as just talk guns and gear. Click the “Go To Forum Thread” link below to jump in!
Join the Discussion
Read the full article here


