Hunting is not only a pastime to spend with family and put food on the table, but it is also one of the ultimate tests of our shooting prowess. You get one shot in a pivotal, fleeting moment and then it is gone. Did you succeed? Or, did you fail?
While technology in the way of rifles, optics and ammunition has advanced by leaps and bounds from what our fathers used to hunt with, some things will never change. You still need to understand the fundamentals of shooting, know the basics of marksmanship, and have the ability to improvise on the fly to create an ethical shot on game.
All of this and more was taught at the two-day “Hunter Marksmanship” course I recently attended at Vortex Edge — the training facility run by Vortex Optics. I will outline my experience and what I appreciated the most having attended this class.
Preparation for Instruction
Before I got to the classroom, I needed to know what I was getting myself into. The Hunter Marksmanship course would occur at both indoor and outdoor ranges managed by Vortex. So, attire would need to be appropriate for potential inclement weather outside (if any would occur).
[Catch Wayne Van Zwoll’s article for more on the 6.5 Creedmoor cartridge.]
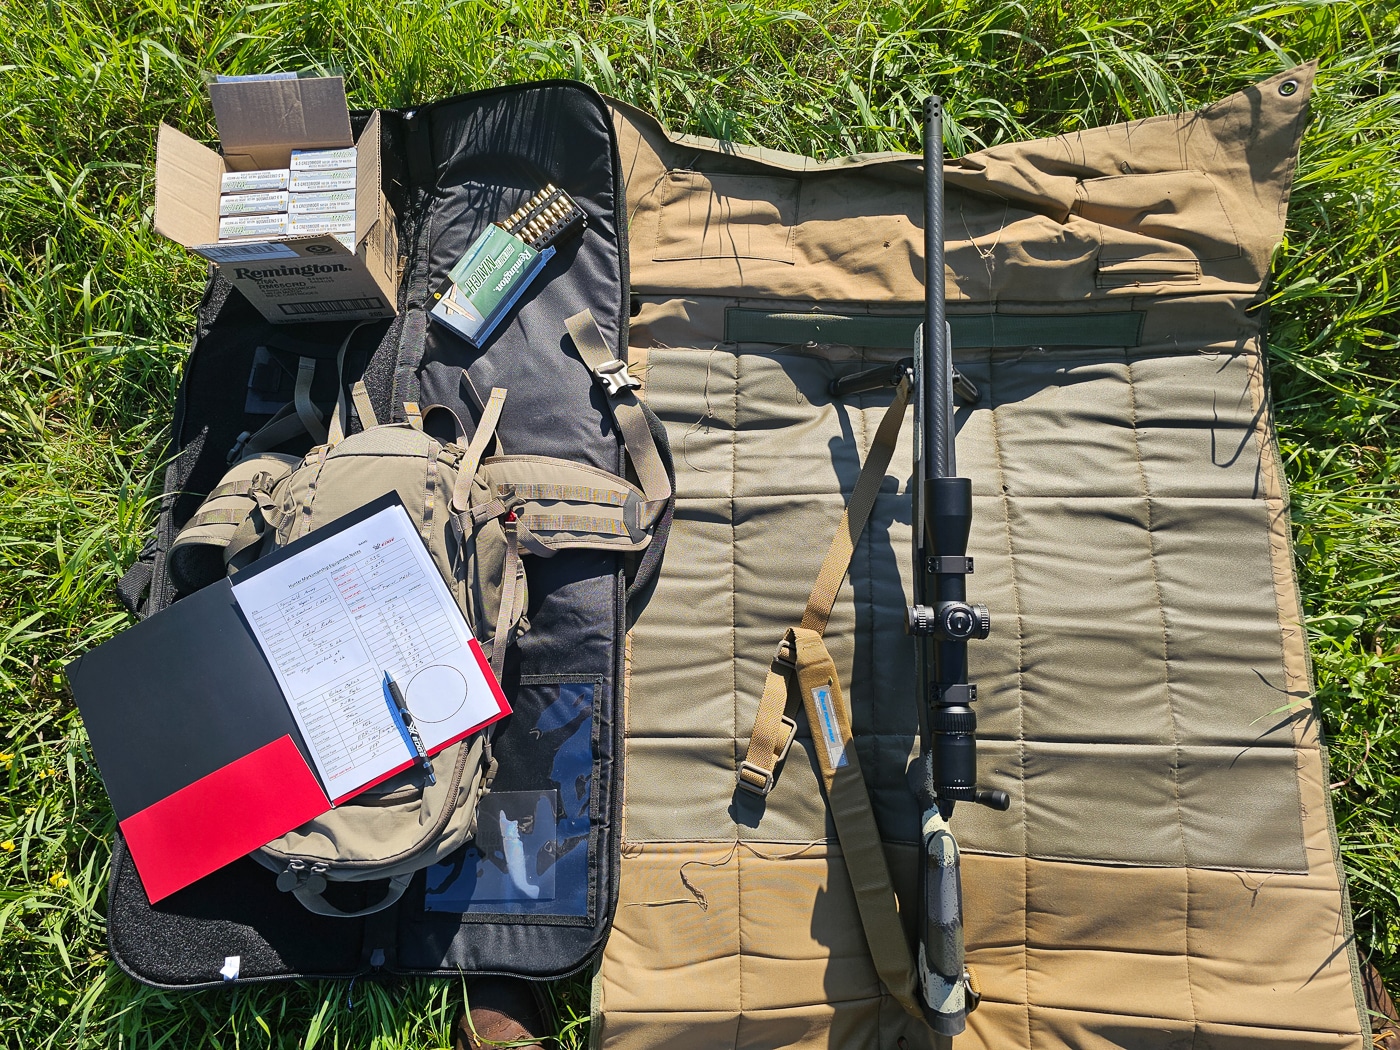
The main focus was on the gear we would be wielding to execute a shot out in the field. The required range equipment list was:
- Rifle Intended for hunting big game
- Magnified riflescope
- Sling for rifle
- Hunting pack
- Appropriate ear and eye protection
- Outdoor weather-appropriate clothing
- 120 rounds hunting ammunition (Note: Round counts may vary)
Day #1 Curriculum
The first day of this two-day course had a good amount of time in a classroom discussing the basics of hunting and marksmanship. It covered topics like optic nomenclature, cartridge selection, and properly marrying your riflescope to your firearm.
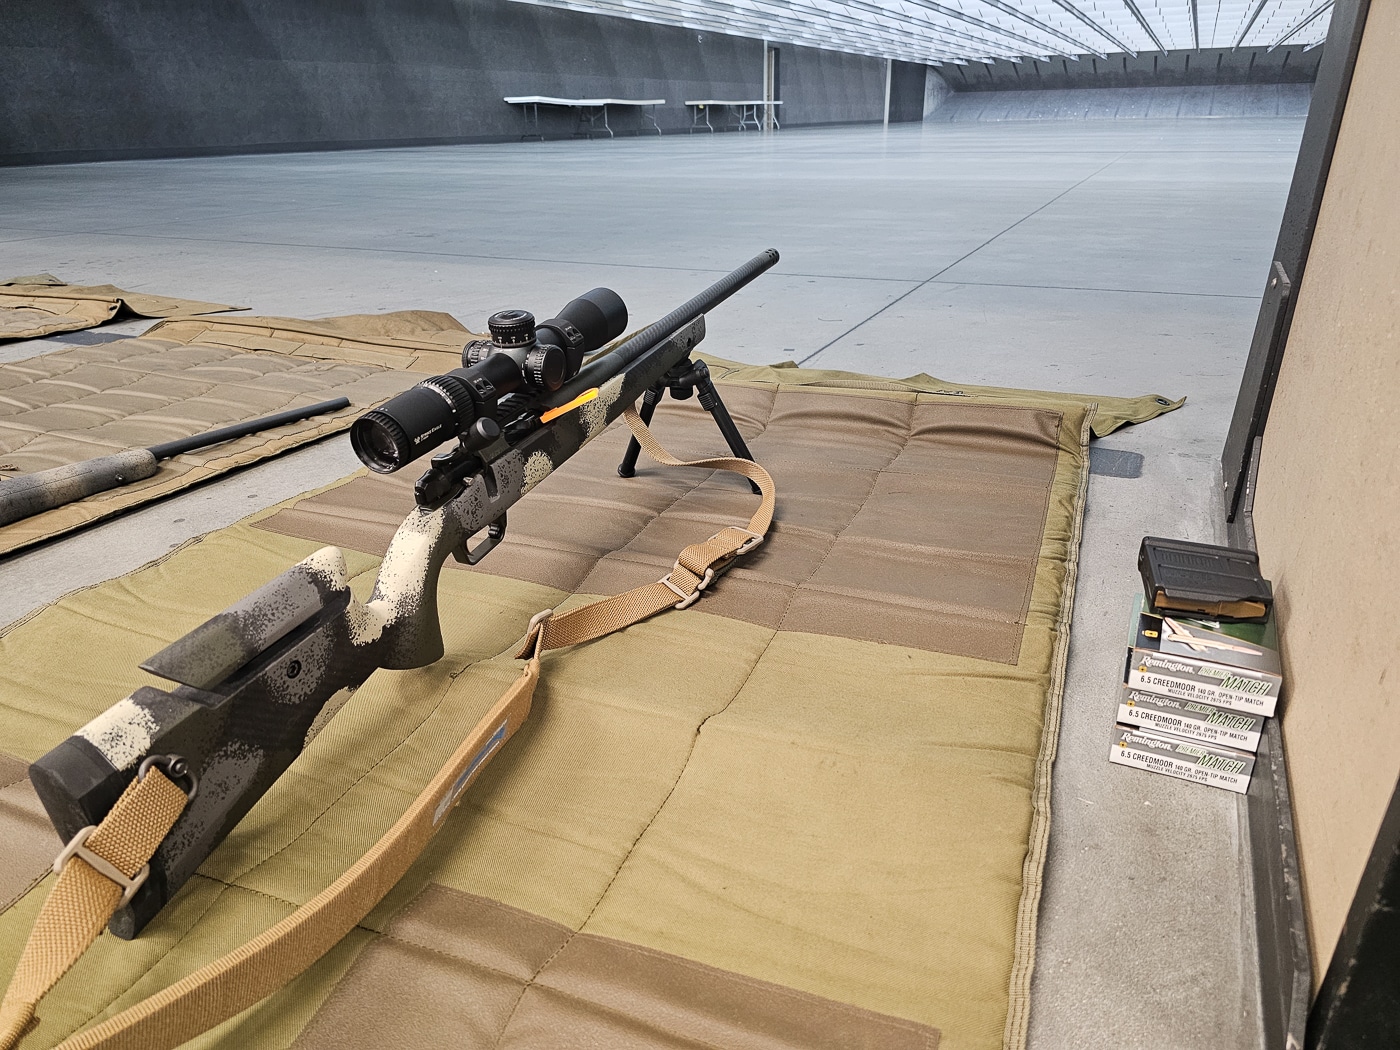
We even discussed more niche topics like ballistics, cleaning/maintenance, and shot placement on varying yet common game animals. The full list of topics from Day #1 was as follows:
- Rifle and optic selection
- Ammunition selection
- Zeroing your rifle and scope
- External and terminal ballistics
- Game anatomy and shot placement
- Rifle and optic maintenance
- Optic mounting
- Marksmanship fundamentals
Even with a lot of discussion and talking in a classroom, we did eventually find ourselves on an indoor gun range before the day was through. We either confirmed the zero we walked into the class with, or we found a new one (having learned our prior zero was incorrect). This gave us a baseline to do some positional shooting indoors.
Hunters and fishermen are known for occasionally stretching the truth on their harvests, with grandiose tales. Well, many students quickly got humbled when we only shot 50 yards while standing off-hand, kneeling, sitting on our butts, and prone.
Numerous students failed to hit the vitals on a whitetail deer target in these four simple positions. Egos were humbled, new baselines were set, and humility was added to our tool belts. Those were deemed the traditional shooting positions that many of us would engage in if a trophy animal stepped out in front of us in the field.
Day #2 would prove to be a more advanced application of the fundamentals that we learned during Day #1.
Day #2 Curriculum
For Day #2, we headed outside. We should have had enough data from our ammunition, rifle, optic, and preliminary shooting indoors to produce a rudimentary DOPE card out to 500 yards. This would soon be tested as well.
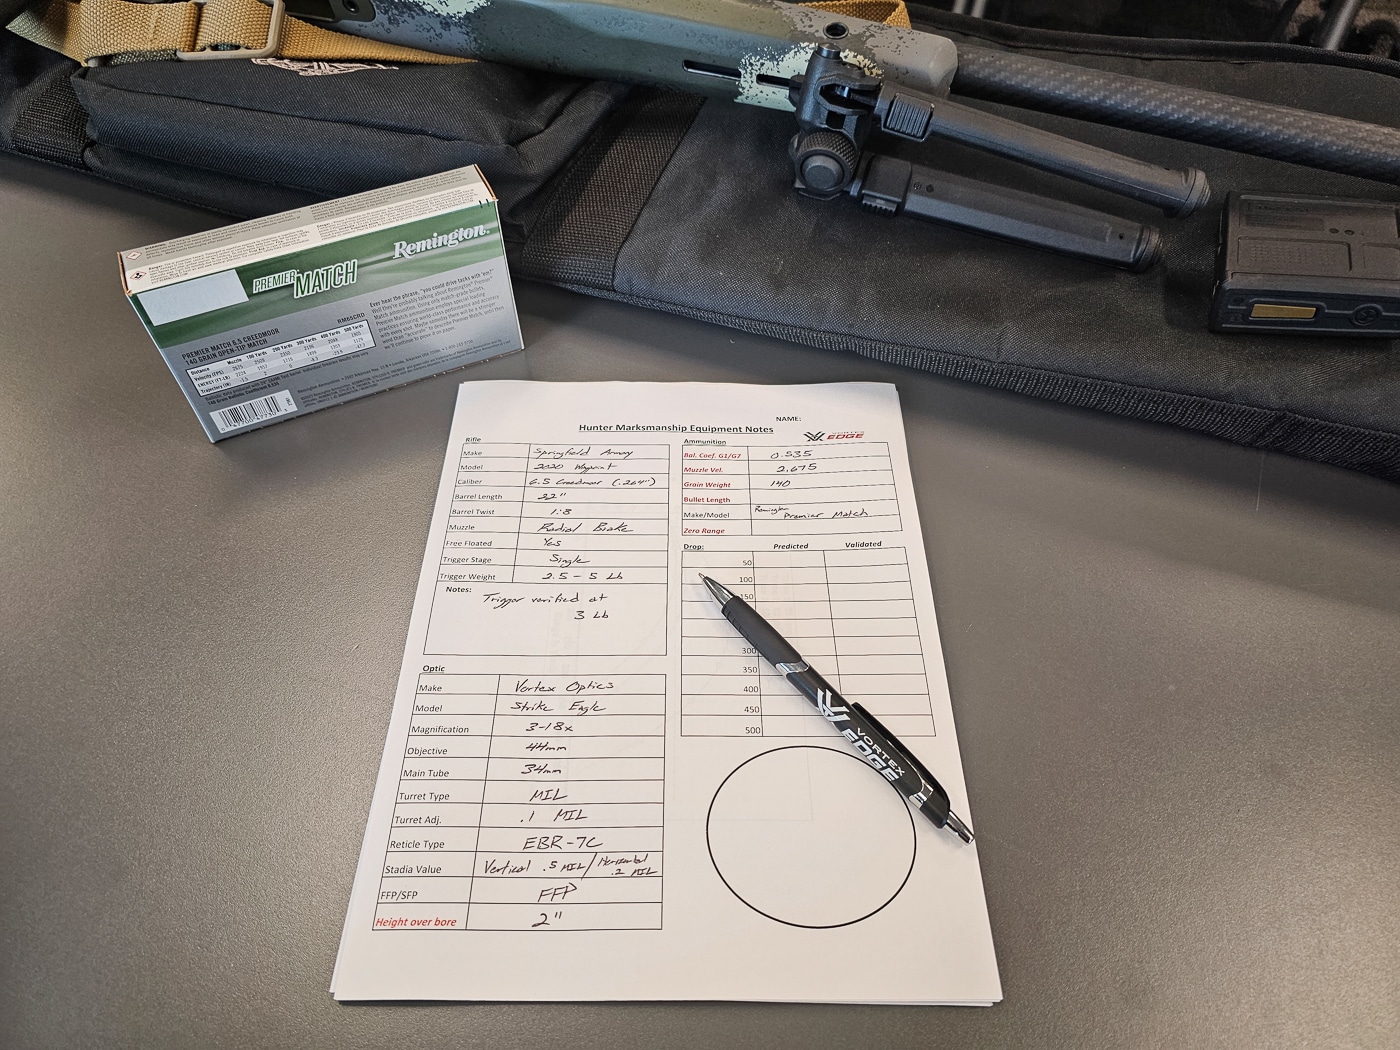
The different skills and tasks we were looking to achieve on Day #2 looked like this:
- Traditional shooting positions
- Improvised shooting positions (treestands, packs, shooting sticks, natural terrain, etc.)
- Gathering ballistic data/creating a DOPE card Out to 500 yards
- Range estimation/laser rangefinder use
- Using scope reticle, turrets, or other methods to estimate elevation holds
- Reading and compensating for wind
- Field shooting course on targets Out to 500 yards
We began by engaging steel targets from 100 to 500 yards. This was meant for us to verify, or modify, our DOPE cards as necessary.
My primary hunting rifle for the past few years for everything from black bear to coyote to whitetail deer has been my Springfield Armory Model 2020 Waypoint chambered in 6.5 Creedmoor. Be sure to read Sean Utley’s review of the Springfield Waypoint rifle.
My complete hunting package as I walked into the Hunter Marksmanship course was this:
- Springfield Model 2020 Waypoint 6.5 Creedmoor
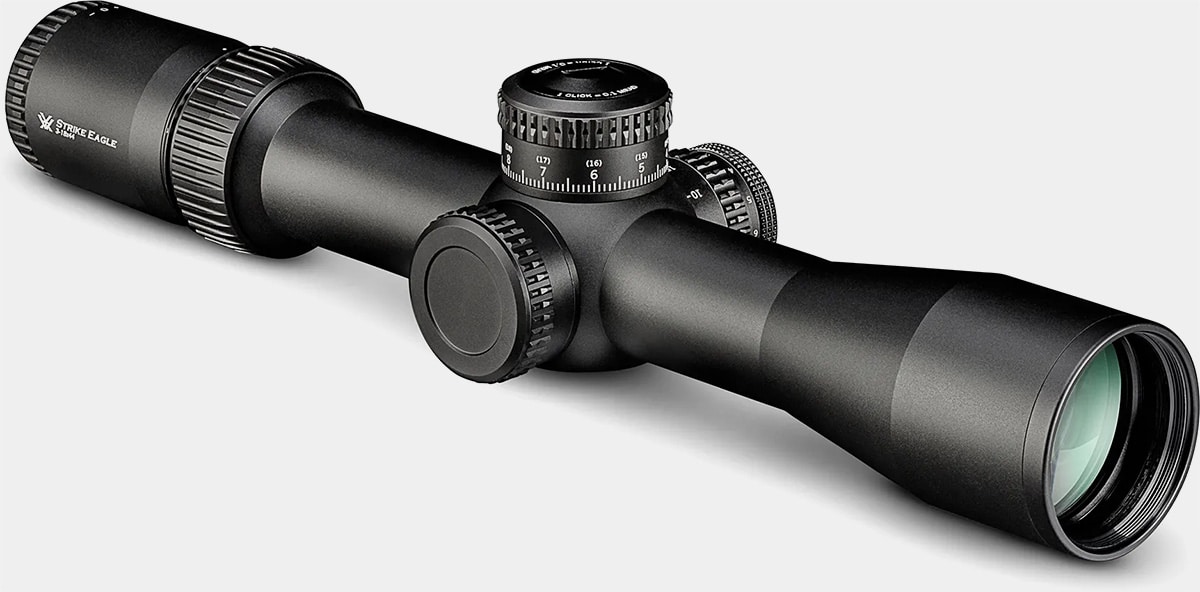
- Vortex Strike Eagle 3-18x44mm FFP EBR-7C (MRAD
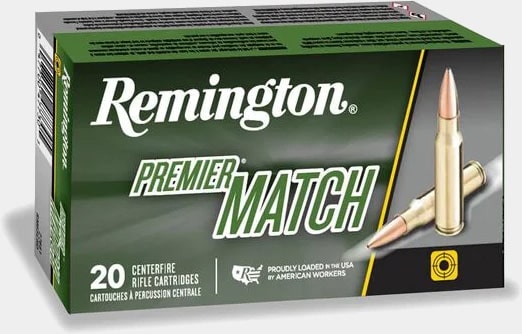
- Remington Premier Match 6.5 Creedmoor 140 Grain Open Tip
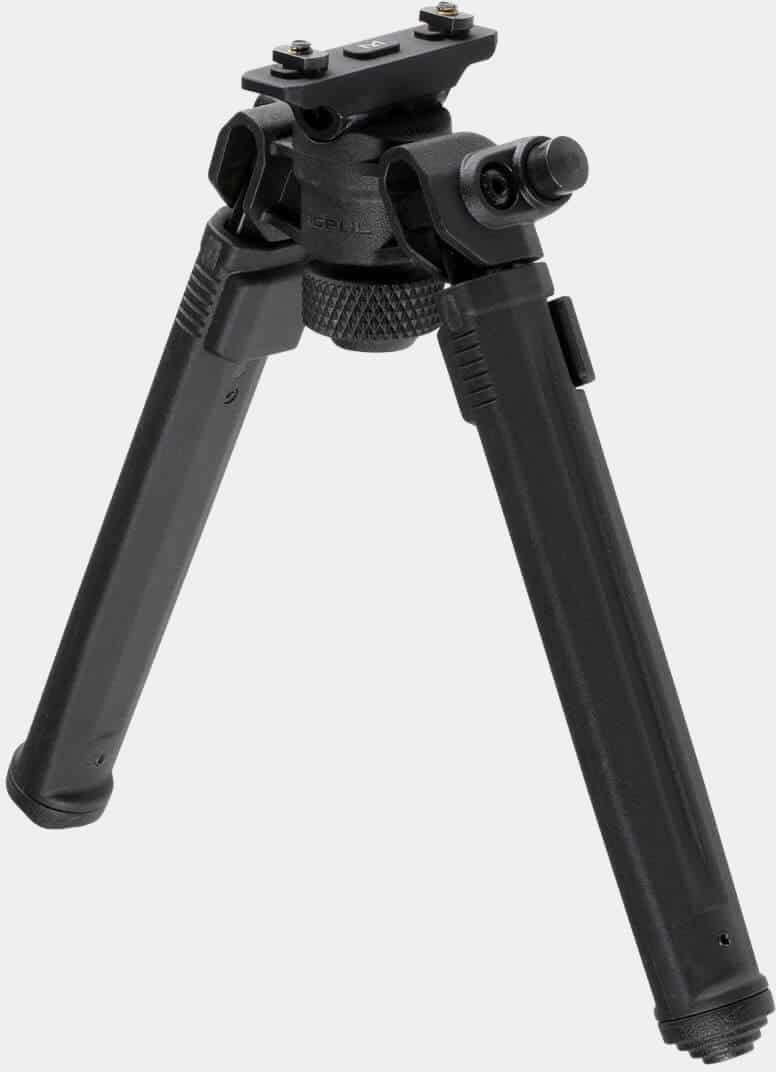
- Magpul Bipod for M-LOK
- Blue Force Gear Vickers Push Button Sling
After re-confirming our zeros, verifying our DOPE cards, and getting intimately familiar with the rifle/optic combos we brought to the course, we dove into some additional discussions. These included reading the wind, understanding our reticle, making holds based off of our reticle, and making adjustments through our turrets. When you shoot beyond the golden standard of 100 yards, there is a lot more math, trajectory and environmental elements that need to be accounted for.
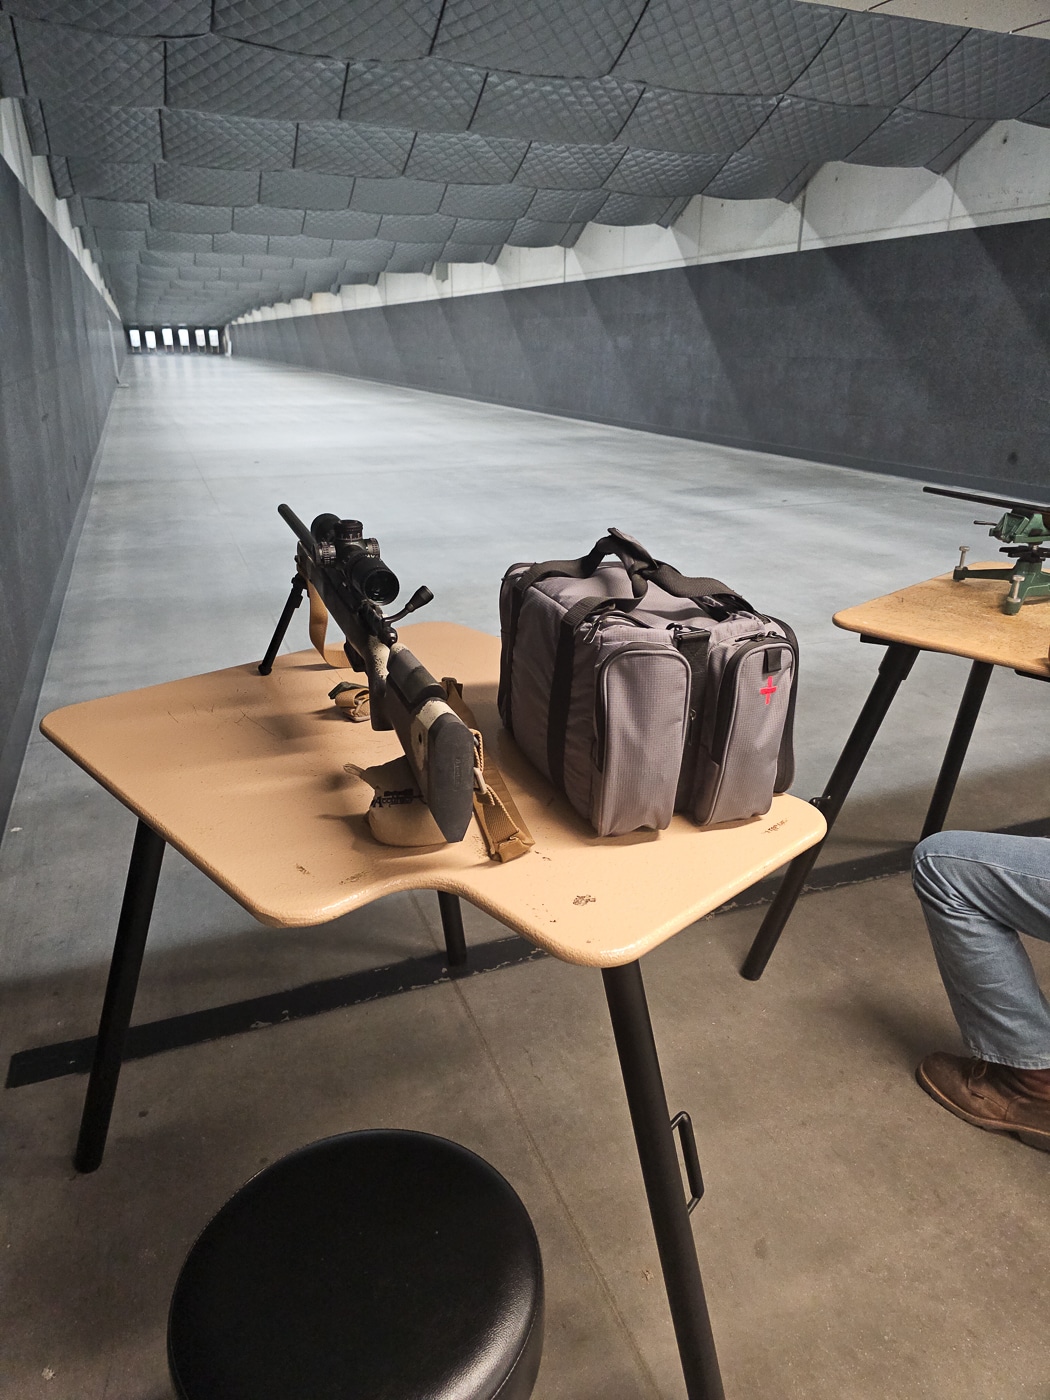
Next, we moved into the improvised shooting positions — making the best of a given situation. This included shooting off of a hunting pack, engaging steel out of a ladder stand or from a ground blind, building a position on a log, and a few others. None of these are positions you would deem comfortable or that instill a high degree of confidence, yet if you maintain the fundamentals of marksmanship you can make ethical shots on steel targets and wild game.
The Field Course Test
This two-day course was building towards something, and that was the Field Course Test. We walked and shot our way through a field course that consisted of 16 targets from distances of 50 yards to 500 yards.
You were given a timecap of two minutes to engage each stage, which could be two targets of unknown distance. You would range your targets, build a position, and aim for first round impacts on steel (signifying a successful first attempt shot on game if it was a hunt).
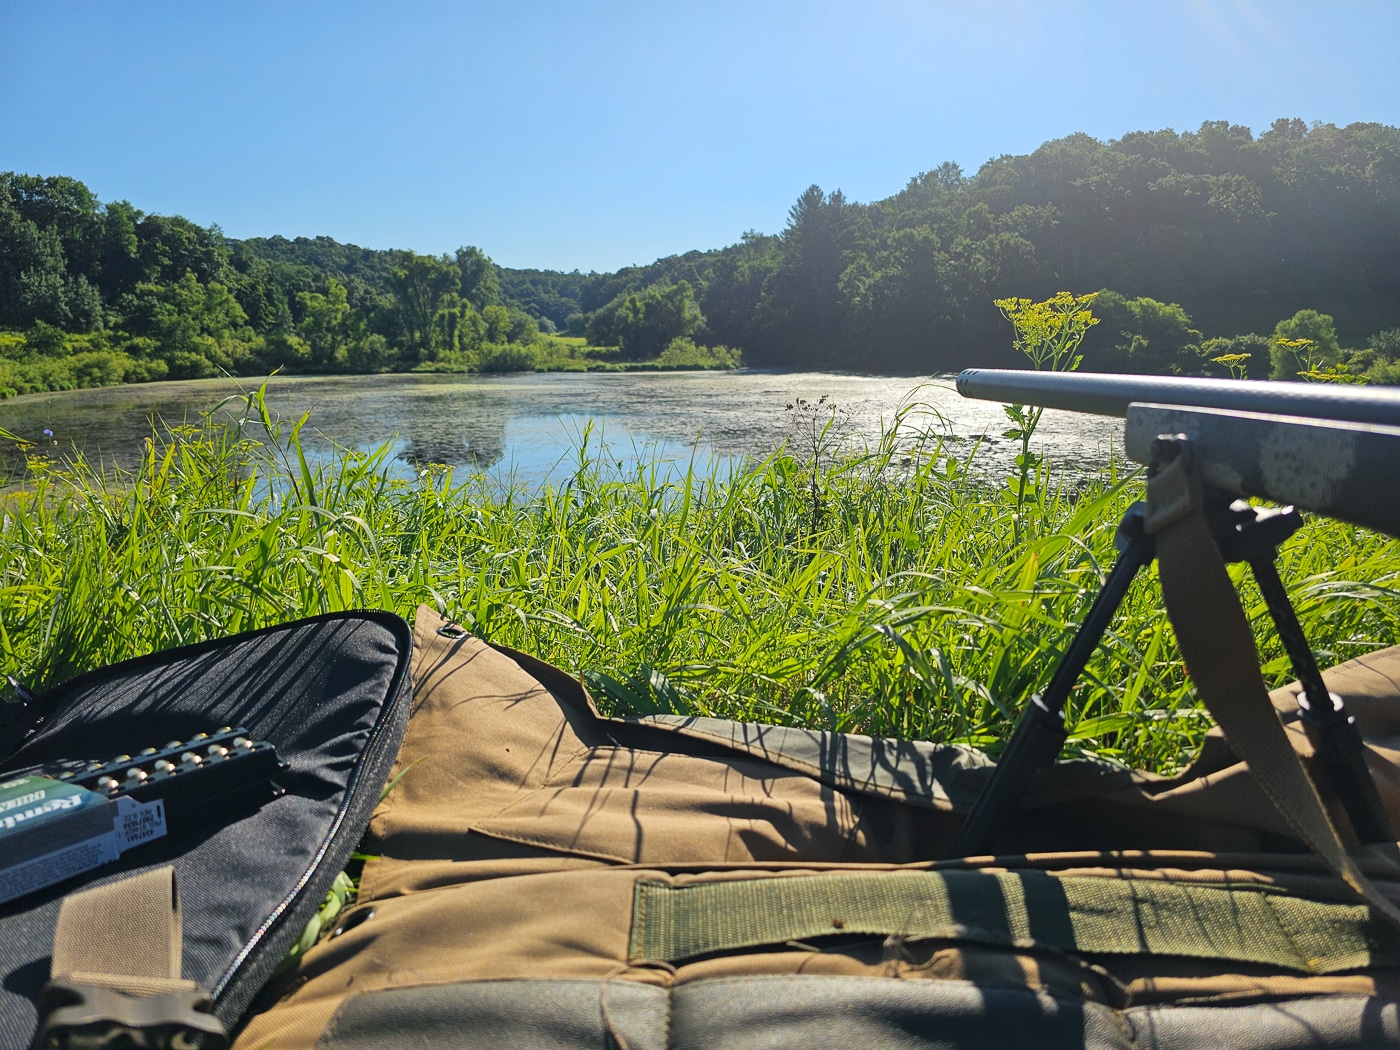
The test seemed to fly by as we shot across a pond, engaged targets quickly under the watchful eye of instructors, and looked to apply everything we had learned. I ended up scoring 138/160 points, which I was disappointed in.
My shooting background has always been based in hunting. Not competition shooting, self-defense, theatrics, or anything else. So, anything less than a perfect score implied some poor and potentially unethical shots would have been placed on game if this was a real hunt.
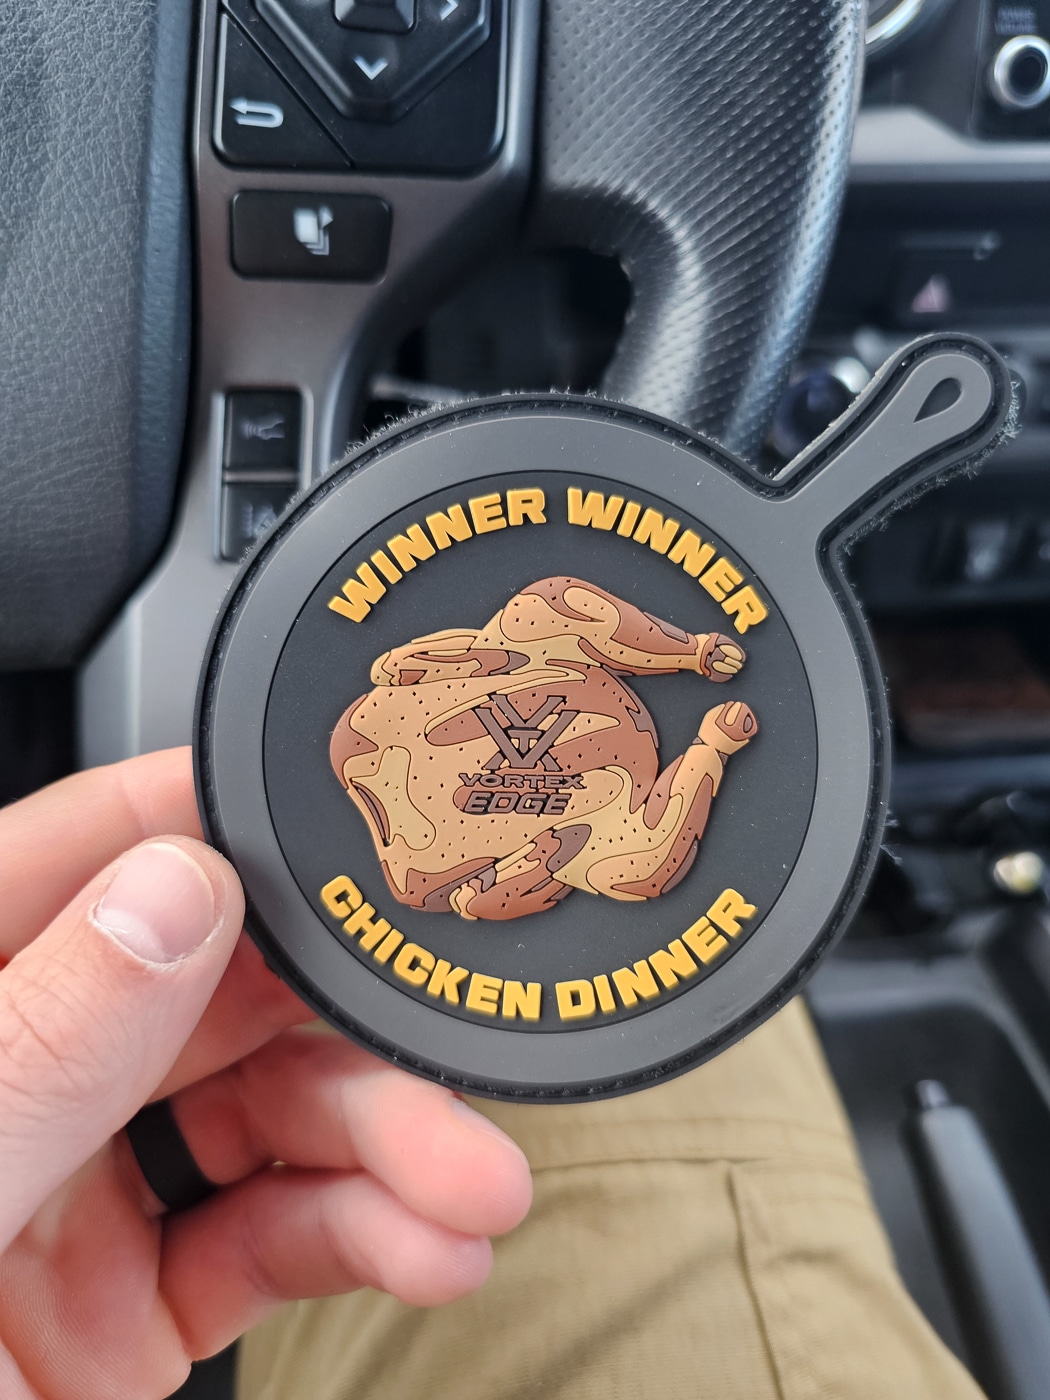
To my surprise, I actually scored the highest in the Field Course Test and won myself a morale patch.
Final Thoughts
While I might have been my own worst critic of my shooting skills, I was incredibly happy with the class. From start to finish, they did everything to take a greenhorn from the classroom to confidently engaging targets out to 500 yards.
For those who were lifetime hunters like myself, I also found a lot of value in honing my skills, learning new ones, and being able to push my limits through a lot of “non-standard” shooting positions.
Most people have no clue how to jump into a free ballistics app like GeoBallistics, build a DOPE card, know what their reticle means, or how to adjust turrets on the fly. All of these little skills can be glossed over if you attempt to “buy your way” into success. The most expensive gear doesn’t bag deer; the most proficient hunter does. Being a master of your equipment is really important, whether it is hand-me-downs or new, cheap or expensive, fancy or basic.
Know your gear, run it, test it, and be confident so you can make ethical shots out in the field and be a good steward of all of the animals we pursue.
Editor’s Note: Please be sure to check out The Armory Life Forum, where you can comment about our daily articles, as well as just talk guns and gear. Click the “Go To Forum Thread” link below to jump in and discuss this article and much more!
Join the Discussion
Featured in this article
Read the full article here


